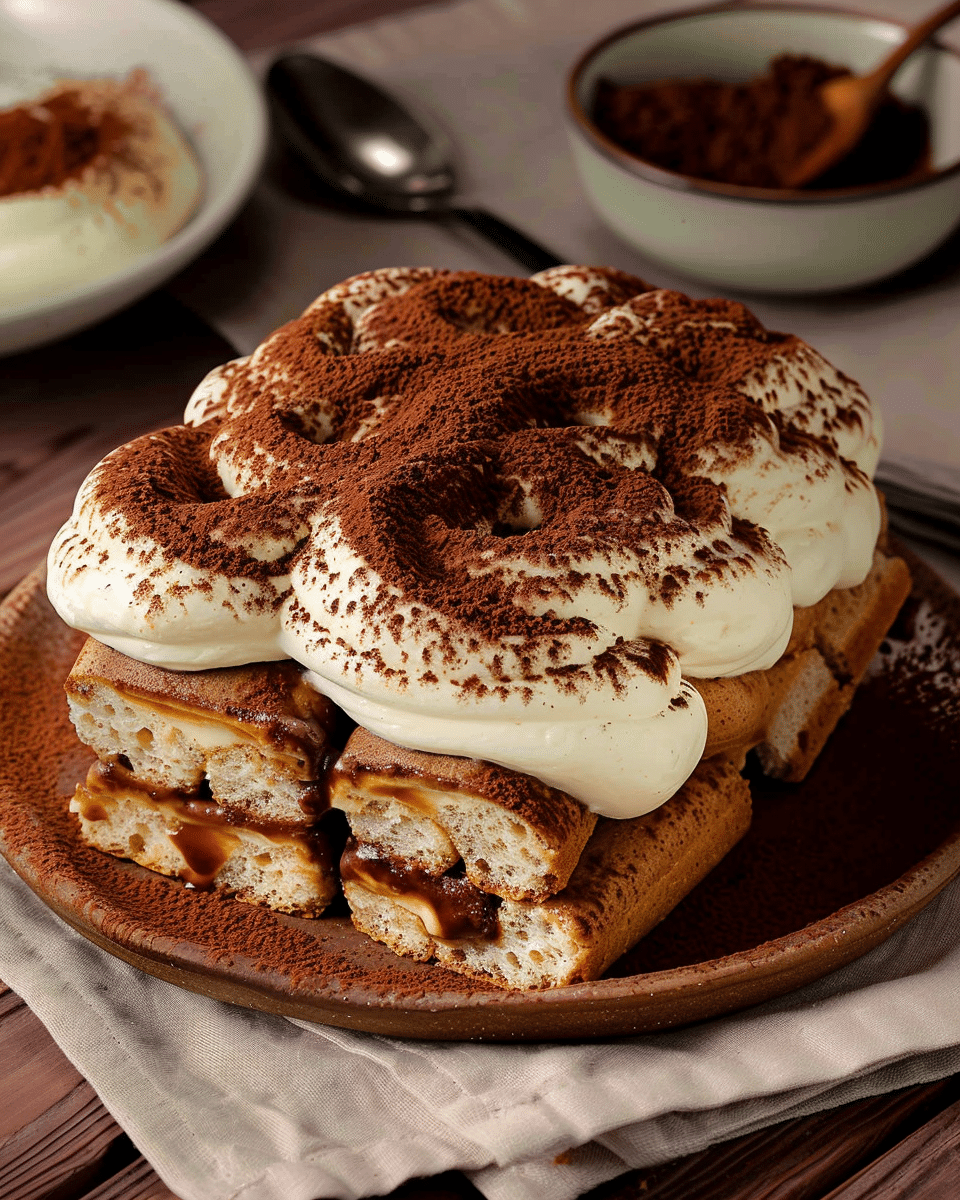
This classic Italian tiramisu is made with layers of espresso-soaked ladyfingers and a rich mascarpone cream that’s both silky and light. I dust it generously with cocoa powder and often finish with shaved chocolate for an extra touch. It’s a no-bake dessert that feels elegant yet easy to put together. After resting in the refrigerator, the layers meld beautifully, creating a luxurious, creamy treat with deep coffee flavor and just the right amount of sweetness.
Why I’ll Love This Recipe
I love how this tiramisu feels both indulgent and effortless. It doesn’t require baking or cooking, yet the result is impressive every time. The mascarpone mixture is creamy and lightly sweet, and the espresso brings out a deep, aromatic contrast. I can prepare it in advance, which makes it perfect for dinner parties or special occasions. Whether I make it in one big dish or as individual servings, it always feels like a restaurant-quality dessert.
Ingredients
(Tip: You’ll find the full list of ingredients and measurements in the recipe card below.)
4 large egg yolks
½ cup (100 grams) granulated sugar, divided
¾ cup heavy cream
1 cup (227 grams) mascarpone cheese
1¾ cups strong brewed espresso or coffee, cooled
2 tablespoons dark brewed coffee or water (optional, for added moisture)
2 tablespoons unsweetened cocoa powder
About 24 ladyfingers (approximately 7 ounces or 200 grams)
1 to 2 ounces bittersweet chocolate, shaved (optional for garnish)
Directions
In a large mixing bowl, I whisk the egg yolks and ¼ cup of the sugar using an electric mixer on high speed until the mixture becomes thick, pale, and triples in volume. This usually takes about 4 to 5 minutes.
In a separate bowl, I whip the heavy cream with the remaining ¼ cup sugar until soft peaks form. Then I add the mascarpone and continue whipping until smooth and slightly thickened with medium peaks.
I gently fold the mascarpone cream into the egg yolk mixture, taking care not to deflate it, until the mixture is fully combined and smooth.
In a shallow bowl, I stir together the cooled espresso and the optional brewed coffee or water.
I lightly dust the bottom of a 2-quart dish (or an 8×8-inch square dish) with 1 tablespoon of cocoa powder using a fine-mesh sieve.
I dip each ladyfinger briefly into the espresso mixture, just long enough to soak the outside without becoming soggy, and then lay them in a single layer across the bottom of the dish.
I spread half of the mascarpone cream evenly over the soaked ladyfingers.
I repeat with another layer of dipped ladyfingers, followed by the remaining mascarpone cream.
I dust the top with the remaining tablespoon of cocoa powder and optionally garnish with shaved chocolate.
I cover the dish with plastic wrap and refrigerate for at least 4 hours, preferably overnight, before serving.
Servings And Timing
Servings: 6 to 8
Preparation Time: 25 minutes
Chill Time: At least 4 hours, up to 24 hours
Variations
Flavor Adjustments: I sometimes add a few drops of vanilla or almond extract to the espresso mixture for extra depth.
Individual Servings: Instead of one large dish, I layer the tiramisu in small cups or glasses for individual portions.
Chocolate Twist: I add a thin layer of melted chocolate or chocolate ganache between the ladyfinger and mascarpone layers.
Fruity Version: I layer in fresh raspberries or strawberries between the cream for a fruity take.
Stabilized Cream: For a firmer dessert, especially when transporting, I add a bit of gelatin to the mascarpone cream.
Storage/Reheating
Storage: I keep the tiramisu covered in the refrigerator. It lasts up to 4 days, and the flavor improves as it rests.
Freezing: I don’t recommend freezing, as the mascarpone and whipped cream can separate and become grainy when thawed.
Serving After Chilling: Before serving, I let it sit at room temperature for about 10 to 15 minutes to soften slightly.
FAQs
Can I Make This Tiramisu Without Raw Eggs?
Yes, I can gently cook the yolks over a double boiler to reduce risk or use pasteurized eggs. This isn’t part of the original method, but it’s a safe alternative.
How Do I Keep The Ladyfingers From Getting Mushy?
I dip them very quickly—just a second or two—so they absorb enough coffee without falling apart. The key is using firm, crisp ladyfingers and not soaking them too long.
Can I Make Tiramisu Ahead Of Time?
Absolutely. I find that it tastes best when I make it a day in advance. The rest time allows the flavors to blend and the layers to set properly.
What Can I Use Instead Of Mascarpone?
While mascarpone is ideal for its rich and smooth texture, I can mix cream cheese with heavy cream as a substitute. The flavor changes slightly but still works in a pinch.
Why Is My Tiramisu Runny?
It could be from over-soaking the ladyfingers, under-whipping the cream, or not chilling long enough. I always make sure to whip the cream to soft-medium peaks and allow plenty of chill time.
Conclusion
This classic tiramisu is a timeless dessert I always turn to when I want something impressive but easy. The creamy mascarpone layers and coffee-soaked ladyfingers create a beautiful contrast that feels luxurious with every bite. Once I’ve made it a few times, the process becomes second nature—and the compliments are always worth it. Whether for holidays, dinner parties, or just because, I keep this recipe close at hand.
Classic Italian tiramisu made with espresso-soaked ladyfingers, creamy mascarpone filling, and a dusting of cocoa powder. An elegant no-bake dessert that’s rich, smooth, and perfect for special occasions.
Author:Sophia
Prep Time:25 minutes
Cook Time:0 minutes
Total Time:25 minutes (plus 4+ hours chilling)
Yield:6–8 servings
Category:Dessert
Method:No-Bake
Cuisine:Italian
Diet:Vegetarian
Ingredients
4 large egg yolks
½ cup (100 g) granulated sugar, divided
¾ cup heavy cream
1 cup (227 g) mascarpone cheese
1¾ cups strong brewed espresso or coffee, cooled
2 tablespoons dark brewed coffee or water (optional)
2 tablespoons unsweetened cocoa powder
About 24 ladyfingers (≈7 oz / 200 g)
1–2 oz bittersweet chocolate, shaved (optional, for garnish)
Instructions
Whisk egg yolks and ¼ cup sugar with an electric mixer on high until thick, pale, and tripled in volume (about 4–5 minutes).
In another bowl, whip heavy cream with remaining ¼ cup sugar until soft peaks form. Add mascarpone and continue whipping until smooth and medium peaks form.
Fold mascarpone cream gently into egg yolk mixture until combined.
In a shallow dish, combine espresso and optional coffee or water.
Lightly dust the bottom of a 2-quart (or 8×8-inch) dish with 1 tablespoon cocoa powder.
Dip each ladyfinger briefly into espresso mixture and arrange in a single layer in the dish.
Spread half of the mascarpone cream evenly over ladyfingers.
Repeat with a second layer of dipped ladyfingers and remaining mascarpone cream.
Dust top with remaining cocoa powder and garnish with shaved chocolate if desired.
Cover with plastic wrap and refrigerate for at least 4 hours (preferably overnight) before serving.
Notes
Add vanilla or almond extract to espresso for extra flavor.
Make individual portions in small glasses for elegant serving.
For a chocolate twist, add a thin layer of melted chocolate or ganache between layers.
Add fresh berries like raspberries or strawberries for a fruity variation.
Stabilize cream with gelatin if transporting or needing firmer layers.


