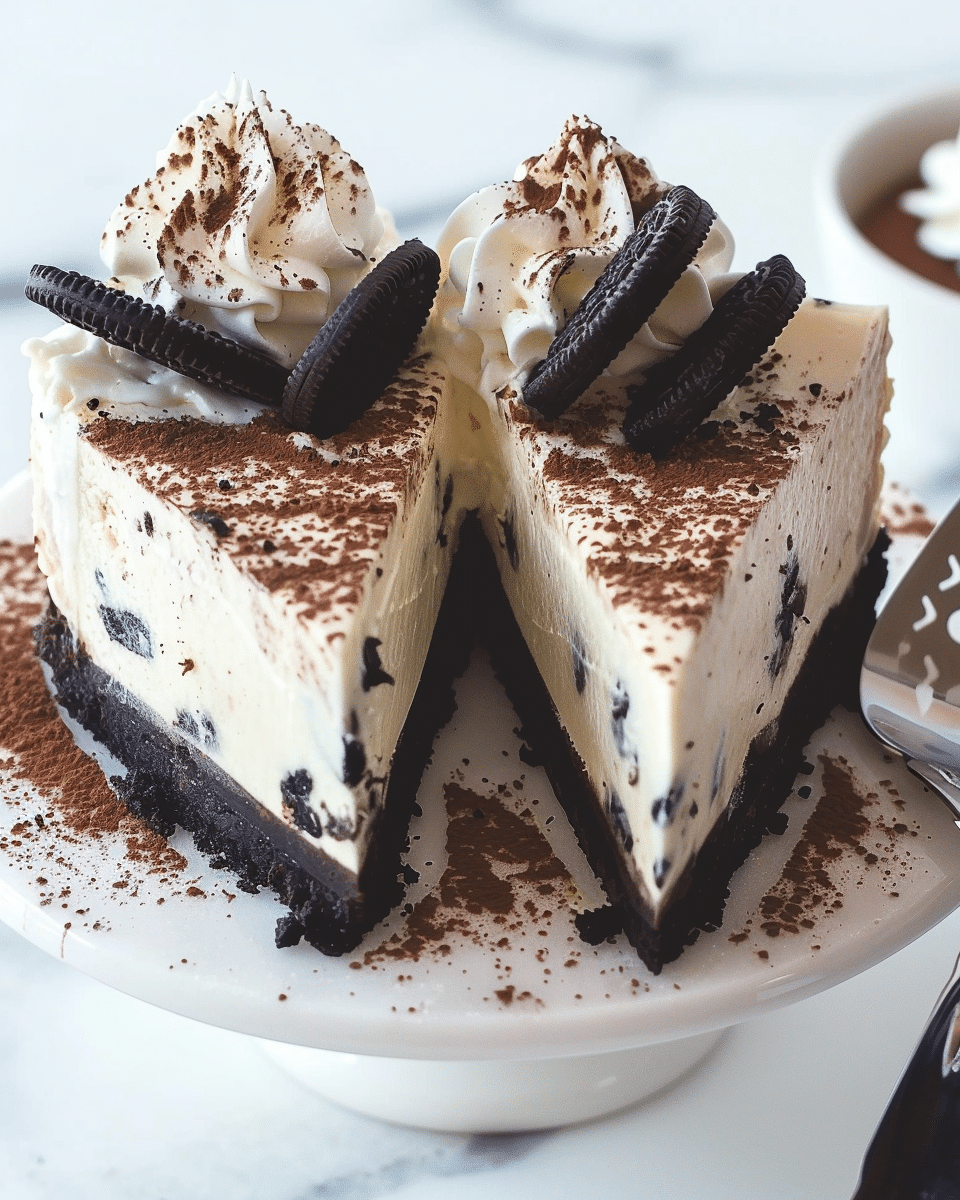
This no bake Oreo cheesecake is creamy, rich, and incredibly easy to prepare. With a crunchy Oreo biscuit base and a smooth, light filling packed with crushed Oreos, it’s the perfect dessert when you want something impressive without turning on the oven. Ideal for gatherings, celebrations, or a make-ahead treat, this cheesecake delivers maximum flavor with minimal effort.
Why You’ll Love This Recipe
This recipe is quick, simple, and requires no baking at all. It has a perfectly balanced texture with a crisp base and a light yet creamy filling. It’s beginner-friendly, doesn’t require any special equipment, and can be prepared in advance, making it stress-free for entertaining. If you love Oreos, this cheesecake is guaranteed to be a favorite.
Ingredients
(Tip: You’ll find the full list of ingredients and measurements in the recipe card below.)
For the base
300 g Oreo biscuits
120 g unsalted butter, melted
For the filling
500 g full-fat cream cheese, at room temperature
100 g icing sugar
1 teaspoon vanilla extract
300 ml whipping cream, cold
200 g Oreo biscuits, roughly chopped
For decoration (optional)
50 g Oreo biscuits, crushed or halved
Directions
Line the base of a 20 cm springform tin with baking paper.
Place 300 g of Oreo biscuits into a food processor and blitz into fine crumbs.
Add the melted butter to the crumbs and mix until fully combined.
Press the mixture firmly into the base of the prepared tin, creating an even layer. Chill in the fridge for at least 10 minutes.
In a large bowl, beat the cream cheese, icing sugar, and vanilla extract until smooth and creamy. Do not overmix.
In a separate bowl, whip the cold cream until stiff peaks form.
Gently fold the whipped cream into the cream cheese mixture until smooth and airy.
Fold in the chopped Oreo biscuits.
Spoon the filling over the chilled base and smooth the top with a spatula.
Refrigerate for at least 4 hours, or overnight, until fully set.
Decorate with extra Oreo biscuits before serving if desired.
Servings and timing
Servings: 10–12 slices
Preparation time: 20 minutes
Chilling time: 4 hours minimum
Total time: Approximately 4 hours 20 minutes
Variations
You can add a chocolate twist by mixing 100 g of melted dark chocolate into the cheesecake filling. For a lighter flavor, reduce the Oreo quantity in the filling and add finely grated chocolate instead. You can also prepare this cheesecake in individual dessert cups for easy serving.
Storage/Reheating
Store the cheesecake covered in the refrigerator for up to 3 days. This dessert is best served chilled and does not require reheating. It can also be frozen for up to 1 month; thaw overnight in the refrigerator before serving.
FAQs
Can I make this cheesecake ahead of time?
Yes, this cheesecake is ideal for making a day in advance and storing in the fridge until needed.
Why didn’t my cheesecake set properly?
This usually happens if the cream wasn’t whipped to stiff peaks or if the cheesecake needs more chilling time.
Can I use reduced-fat cream cheese?
Full-fat cream cheese is recommended for the best texture and firmness.
Do I need to remove the Oreo filling for the base?
No, use the whole Oreo biscuit, including the cream filling.
How do I get clean slices?
Use a sharp knife dipped in hot water and wiped dry between slices.
Can I freeze no bake Oreo cheesecake?
Yes, it freezes well. Wrap it tightly and thaw slowly in the fridge.
What size tin works best?
A 20 cm springform tin gives the ideal thickness for the base and filling.
Can I use a hand whisk instead of an electric mixer?
Yes, but it will take longer to achieve stiff peaks with the cream.
How long does it need to chill before serving?
A minimum of 4 hours is required, but overnight chilling gives the best results.
Can I add extra Oreos on top?
Absolutely, crushed or halved Oreos make a great decorative topping.
Conclusion
This no bake Oreo cheesecake is a fuss-free dessert that delivers on both taste and texture. With its crunchy base, creamy filling, and rich Oreo flavor, it’s a reliable crowd-pleaser that works for any occasion. Simple to prepare and easy to store, it’s a recipe you’ll come back to again and again.
This no bake Oreo cheesecake is a creamy and indulgent dessert made with a crunchy Oreo base and a light, fluffy filling packed with chopped Oreos. Perfect for any occasion, it requires no oven and is easy to prepare ahead.
Author:Sophia
Prep Time:20 minutes
Cook Time:0 minutes
Total Time:4 hours 20 minutes (including chilling)
Yield:10–12 slices
Category:Dessert
Method:No Bake
Cuisine:American
Diet:Vegetarian
Ingredients
300 g Oreo biscuits (for the base)
120 g unsalted butter, melted
500 g full-fat cream cheese, at room temperature
100 g icing sugar
1 teaspoon vanilla extract
300 ml whipping cream, cold
200 g Oreo biscuits, roughly chopped (for the filling)
50 g Oreo biscuits, crushed or halved (for decoration, optional)
Instructions
Line the base of a 20 cm springform tin with baking paper.
Place 300 g of Oreo biscuits into a food processor and blitz into fine crumbs.
Mix the melted butter with the Oreo crumbs until fully combined.
Press the mixture into the base of the tin to form an even layer. Chill for at least 10 minutes.
In a large bowl, beat the cream cheese, icing sugar, and vanilla extract until smooth and creamy.
In a separate bowl, whip the cold cream until stiff peaks form.
Gently fold the whipped cream into the cream cheese mixture until combined.
Fold in the chopped Oreo biscuits evenly.
Spoon the filling over the chilled base and smooth the top with a spatula.
Refrigerate for at least 4 hours or overnight until set.
Before serving, decorate with extra Oreos if desired, then slice and serve chilled.
Notes
Use full-fat cream cheese for the best texture and firmness.
Do not overmix the cream cheese to avoid a runny filling.
Chill for at least 4 hours; overnight chilling yields best results.
Use the entire Oreo, including the filling, for both base and mix-ins.
For clean slices, use a sharp knife dipped in hot water and wiped dry.


