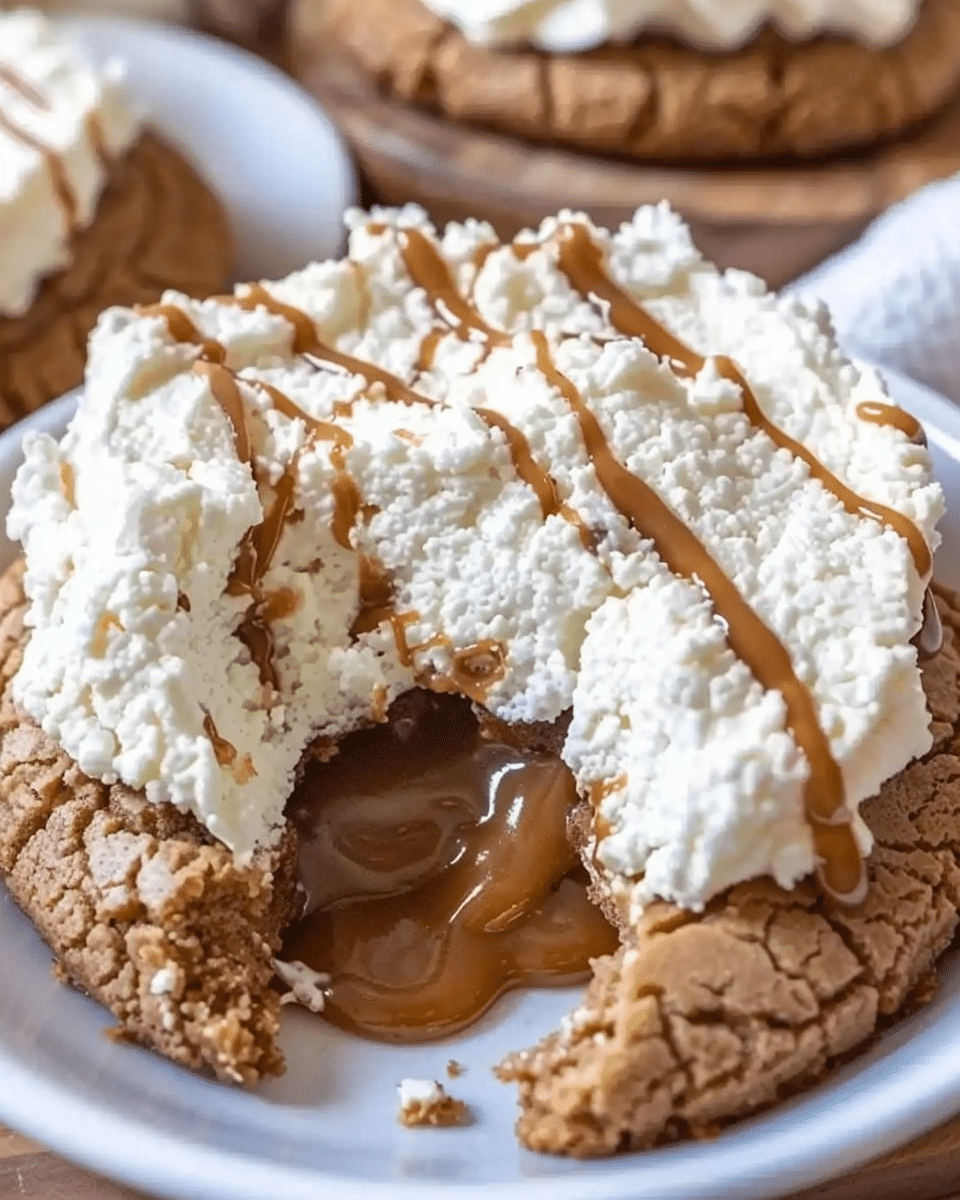
Soft, chewy peanut butter cookies baked in mini muffin tins, then finished with a miniature peanut butter cup pressed into the center while still warm. The chocolate melts slightly into the warm cookie, creating a rich, gooey, peanut butter and chocolate treat in every bite. These cookies are bite-sized, indulgent, and perfect for gifting, parties, or satisfying a sweet craving.
Why I’ll Love This Recipe
I like that these cookies are easy to make but feel special every time I serve them. The peanut butter cookie base is soft, slightly chewy, and buttery, which pairs perfectly with the creamy chocolate center. Using a mini muffin tin keeps the cookies uniform in shape and helps cradle the peanut butter cup just right. I also like how they store well and taste just as good the next day.
Ingredients
(Tip: You’ll find the full list of ingredients and measurements in the recipe card below.)
1 3/4 cups all-purpose flour
1/2 teaspoon baking soda
1/2 teaspoon salt
1/2 cup unsalted butter, softened
1/2 cup granulated sugar
1/2 cup packed brown sugar
1/2 cup creamy peanut butter
1 large egg
1/2 teaspoon vanilla extract
1 tablespoon milk
40 miniature chocolate-covered peanut butter cups, unwrapped and chilled or frozen
Directions
Preheat the oven to 375°F (190°C). Do not grease the mini muffin tin.
In a medium bowl, whisk together the flour, baking soda, and salt. Set aside.
In a large mixing bowl, cream the butter, granulated sugar, brown sugar, and peanut butter until light and fluffy.
Beat in the egg, then add the vanilla extract and milk. Mix until fully combined.
Gradually add the dry ingredients to the wet mixture, stirring just until combined and a soft dough forms.
Using a small cookie scoop or your hands, roll the dough into 1-inch balls and place one in each well of the mini muffin tin.
Bake for 8 minutes, or until the tops begin to lightly crack. The cookies may appear underbaked, but they will finish setting as they cool.
Immediately after removing the cookies from the oven, press a chilled peanut butter cup gently into the center of each cookie.
Let the cookies cool in the pan for 10–15 minutes, then carefully transfer them to a wire rack or tray to finish cooling completely.
Store once fully cooled to preserve the shape and texture.
Servings And Timing
This recipe makes about 36 to 40 cookies, depending on the size of the dough balls.
Prep Time: 20 minutes
Bake Time: 8 minutes
Cooling Time: 15–20 minutes
Total Time: 45–50 minutes
Variations
I sometimes use dark chocolate or white chocolate mini peanut butter cups for a twist on flavor.
A sprinkle of flaky sea salt on top of the melted chocolate adds a delicious sweet-salty finish.
For a more chocolatey cookie, I add 1 tablespoon of cocoa powder to the dough.
I like to use natural-style peanut butter, but I make sure it’s no-stir and has a creamy consistency.
To make them gluten-free, I swap in a 1:1 gluten-free flour blend without changing anything else in the recipe.
Storage/Reheating
Once cooled, I store the cookies in an airtight container at room temperature for up to 4 days. If I want to keep them longer, I freeze them in a single layer, then transfer to a freezer-safe bag or container. When ready to eat, I let them thaw at room temperature. For a warm cookie, I microwave one for about 5–8 seconds to gently soften the chocolate center.
FAQs
Can I Make These Cookies Ahead Of Time?
Yes, I often prepare the dough in advance and refrigerate it for up to 48 hours. I also freeze the unbaked dough balls and bake straight from the freezer with just a minute or two added to the bake time.
Do I Need To Freeze The Peanut Butter Cups?
I always chill or freeze the peanut butter cups before pressing them into the cookies. This helps them hold their shape and keeps the chocolate from melting too much into the warm cookie.
Can I Use A Regular Cookie Sheet Instead Of A Mini Muffin Tin?
While I can bake the dough on a cookie sheet, the cookies won’t have the same shape. The mini muffin tin gives them their signature cup-like form and holds the peanut butter cup neatly in place.
Why Do The Cookies Look Underbaked?
The cookies should be pulled from the oven when they just start to crack. They’ll continue to bake in the hot muffin tin and set up as they cool, staying soft and tender.
How Do I Prevent The Cookies From Sticking To The Pan?
I don’t grease the pan, but I always let the cookies cool in the tin for 10–15 minutes before gently loosening them. If I’m worried about sticking, I use a nonstick mini muffin pan or lightly mist the pan with baking spray.
Conclusion
Every time I bake these peanut butter cup cookies, they’re a hit. The rich combination of peanut butter and chocolate in a soft cookie shell never gets old. Whether for a holiday treat or a casual dessert, these cookies deliver on flavor, texture, and presentation. I love how easy they are to make—and how quickly they disappear.
Soft, chewy peanut butter cookies baked in mini muffin tins and filled with a miniature peanut butter cup for the ultimate chocolate-peanut butter treat. Perfect for parties, holidays, or anytime you want a bite-sized indulgence.
Author:Sophia
Prep Time:20 minutes
Cook Time:8 minutes
Total Time:45-50 minutes (including cooling)
Yield:36-40 cookies
Category:Dessert
Method:Baking
Cuisine:American
Diet:Vegetarian
Ingredients
1 3/4 cups all-purpose flour
1/2 teaspoon baking soda
1/2 teaspoon salt
1/2 cup unsalted butter, softened
1/2 cup granulated sugar
1/2 cup packed brown sugar
1/2 cup creamy peanut butter
1 large egg
1/2 teaspoon vanilla extract
1 tablespoon milk
40 miniature peanut butter cups, unwrapped and chilled or frozen
Instructions
Preheat oven to 375°F (190°C). Leave mini muffin tin ungreased.
Whisk flour, baking soda, and salt in a medium bowl.
Cream butter, granulated sugar, brown sugar, and peanut butter until light and fluffy. Beat in egg, vanilla, and milk.
Gradually add dry ingredients, mixing until soft dough forms.
Roll dough into 1-inch balls and place in each well of mini muffin tin.
Bake for 8 minutes until tops begin to crack. Do not overbake.
Immediately press a chilled peanut butter cup into the center of each cookie.
Cool in the tin for 10–15 minutes, then transfer to a wire rack to cool completely.
Notes
Always chill or freeze peanut butter cups before pressing into cookies.
Use a mini muffin tin for best shape and to hold candy neatly in place.
Add flaky sea salt on top for a sweet-salty finish.
Can use dark or white chocolate peanut butter cups for variation.
Freeze baked cookies or dough balls for make-ahead convenience.


