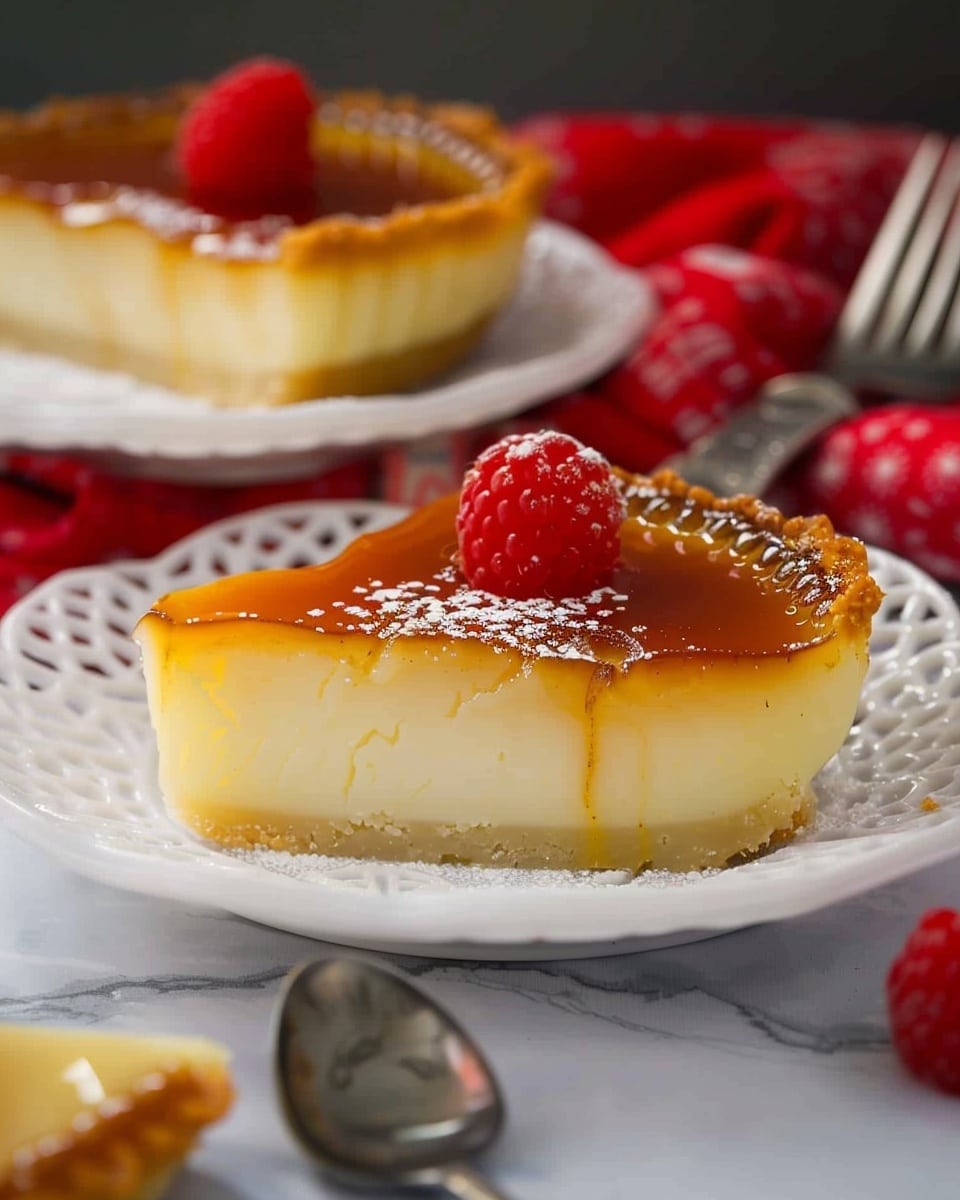
This fail-proof egg custard is smooth, creamy, and delicately sweet with a hint of warm vanilla and nutmeg. With the right technique and simple pantry ingredients, you can achieve a silky, evenly set custard every single time.
Why You’ll Love This Recipe
This recipe delivers a consistently smooth texture without curdling or overcooking. It uses simple, wholesome ingredients you likely already have in your kitchen. The gentle sweetness makes it perfect for dessert, an afternoon treat, or even a comforting option on a quiet evening. The method focuses on proper milk temperature and careful baking, ensuring a custard that sets beautifully while remaining creamy and tender.
Ingredients
(Tip: You’ll find the full list of ingredients and measurements in the recipe card below.)
3 large eggs
2 1/2 cups whole milk
1/2 cup granulated sugar
1 teaspoon pure vanilla extract
1/4 teaspoon salt
1/4 teaspoon ground nutmeg, plus extra for topping
Directions
Preheat your oven to 325°F (160°C). Lightly grease a 1 1/2-quart baking dish or six individual ramekins. Set aside.
In a medium saucepan, heat the milk over medium heat until it reaches 180°F (82°C). Stir occasionally to prevent scorching. Do not let it boil.
In a mixing bowl, whisk together the eggs, sugar, salt, and vanilla extract until fully combined and slightly pale.
Very slowly pour the hot milk into the egg mixture while whisking continuously. This step tempers the eggs and prevents scrambling.
If needed, strain the mixture through a fine mesh sieve to remove any bubbles or bits of cooked egg.
Pour the custard mixture into the prepared baking dish or divide evenly among ramekins.
Sprinkle a light dusting of ground nutmeg over the top.
Place the baking dish inside a larger roasting pan. Carefully pour hot water into the roasting pan until it reaches halfway up the sides of the custard dish, creating a water bath.
Bake for 40 to 50 minutes, or until a knife inserted near the center comes out clean. The center should be set but still slightly jiggly.
Remove from the oven and carefully lift the custard out of the water bath. Allow it to cool at room temperature, then refrigerate for at least 2 hours before serving.
Servings and timing
Servings: 6
Preparation time: 15 minutes
Cooking time: 45 minutes
Cooling time: 2 hours
Total time: Approximately 3 hours
Variations
For a cinnamon twist, substitute ground cinnamon for the nutmeg or use a combination of both.
For a richer custard, replace 1/2 cup of the milk with heavy cream.
For a citrus note, add 1 teaspoon of finely grated orange zest to the egg mixture.
For a lightly caramelized top, sprinkle a thin layer of sugar on top after baking and broil briefly until melted and golden.
For individual servings with elegant presentation, bake the custard in ramekins instead of a single dish.
Storage/Reheating
Store leftover custard covered in the refrigerator for up to 3 days. Keep it tightly wrapped or in an airtight container to prevent it from absorbing other odors.
Custard is best enjoyed chilled or at room temperature. If you prefer it slightly warm, heat gently in short intervals in the microwave at low power. Avoid overheating, as this can cause the custard to curdle.
FAQs
Why did my custard curdle?
Curdling usually happens when the milk is too hot or the custard is overbaked. Be sure to heat the milk to 180°F and remove the custard from the oven as soon as a knife comes out clean.
Do I have to use a water bath?
Yes, the water bath helps the custard cook gently and evenly, preventing cracks and curdling.
Can I use low-fat milk?
You can, but whole milk gives the creamiest texture. Low-fat milk may result in a slightly thinner custard.
How do I know when the custard is done?
Insert a knife near the center. If it comes out clean and the center jiggles slightly, it is ready.
Can I make this custard ahead of time?
Yes, it can be made a day in advance and stored in the refrigerator until ready to serve.
Why is my custard watery?
This can happen if it was underbaked or not properly cooled. Ensure it bakes fully and chills long enough to set.
Can I freeze egg custard?
Freezing is not recommended, as the texture may become grainy once thawed.
What’s the best way to avoid bubbles on top?
Strain the mixture before baking and avoid whisking too vigorously once the milk is added.
Can I add other flavors?
Yes, extracts like almond or a small amount of maple syrup can be added for different flavor profiles.
Why do I need to temper the eggs?
Tempering slowly raises the temperature of the eggs without cooking them too quickly, ensuring a smooth, silky custard.
Conclusion
This fail-proof egg custard combines simple ingredients with careful technique to create a smooth, creamy dessert every time. By properly heating the milk, tempering the eggs, and baking gently in a water bath, you’ll achieve a custard that’s delicately sweet, beautifully set, and perfect for any occasion.
A smooth, creamy, and delicately sweet baked egg custard flavored with vanilla and nutmeg, made foolproof with gentle tempering and a water bath for perfect texture every time.
Author:Sophia
Prep Time:15 minutes
Cook Time:45 minutes
Total Time:3 hours
Yield:6 servings
Category:Dessert
Method:Baking
Cuisine:American
Diet:Vegetarian
Ingredients
3 large eggs
2 1/2 cups whole milk
1/2 cup granulated sugar
1 teaspoon pure vanilla extract
1/4 teaspoon salt
1/4 teaspoon ground nutmeg, plus extra for topping
Instructions
Preheat oven to 325°F (160°C). Lightly grease a 1 1/2-quart baking dish or six ramekins.
Heat milk in a saucepan over medium heat until it reaches 180°F (82°C). Do not boil.
In a bowl, whisk eggs, sugar, salt, and vanilla until well combined and slightly pale.
Slowly pour hot milk into egg mixture while whisking constantly to temper the eggs.
Strain mixture through a fine mesh sieve if needed to remove bubbles or bits.
Pour custard into prepared dish or divide among ramekins.
Sprinkle lightly with ground nutmeg.
Place dish in a larger roasting pan and pour hot water around it halfway up the sides to create a water bath.
Bake 40–50 minutes until set but slightly jiggly in the center. A knife inserted near center should come out clean.
Cool at room temperature, then refrigerate at least 2 hours before serving.
Notes
Use a water bath to ensure gentle, even cooking and prevent curdling.
Do not overbake; remove once center is just set with a slight jiggle.
Strain mixture to prevent bubbles on top.
Store refrigerated up to 3 days.
Freezing is not recommended due to texture changes.


