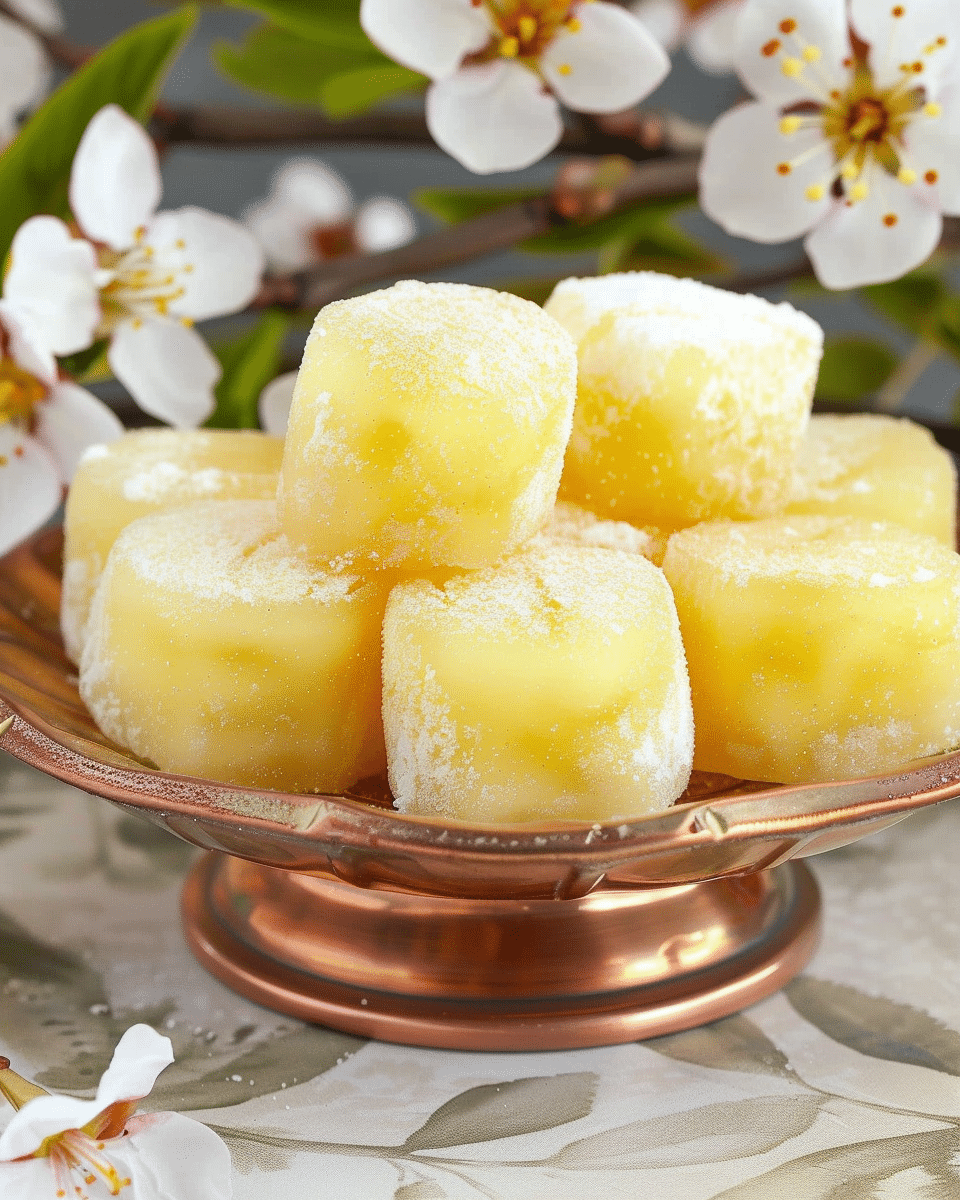
This Gorgeous Hawaiian Butter Mochi is a beloved island-style dessert that perfectly balances rich buttery flavor with a soft, chewy texture. Baked until golden and lightly crisp on top, this treat combines the comfort of cake with the signature chew of mochi, making it an irresistible dessert for any occasion.
Why You’ll Love This Recipe
Hawaiian Butter Mochi is wonderfully simple yet deeply satisfying. It is naturally gluten-free thanks to sweet rice flour, easy to prepare in one bowl, and delivers a unique texture that is both tender and chewy. The flavors of butter, coconut, and vanilla come together in a way that feels indulgent without being overly sweet. It’s perfect for gatherings, potlucks, or as a special homemade treat with minimal effort.
Ingredients
(Tip: You’ll find the full list of ingredients and measurements in the recipe card below.)
Mochiko flour (sweet glutinous rice flour): 16 oz (450 g)
Granulated sugar: 2 cups (400 g)
Baking powder: 1 ½ teaspoons
Salt: ½ teaspoon
Large eggs (room temperature): 4
Whole milk (room temperature): 2 cups (480 ml)
Coconut milk: 13 fl oz (400 ml)
Unsalted butter, melted: ½ cup (115 g)
Vanilla extract: 2 teaspoons
Directions
Preheat your oven to 350°F (180°C). Generously butter a 9×13-inch (23×33 cm) baking pan and line it with parchment paper, allowing some overhang for easy removal.
In a large mixing bowl, combine the Mochiko flour, sugar, baking powder, and salt. Whisk until evenly mixed.
Add the eggs to the dry ingredients and whisk until incorporated. Gradually pour in the whole milk and coconut milk, mixing until smooth. Add the melted butter and vanilla extract, and continue whisking until the batter is fully combined and free of lumps.
For an extra-smooth texture, pour the batter through a sieve directly into the prepared baking pan.
Bake for 50 to 60 minutes, or until the top is golden and a toothpick inserted in the center comes out mostly clean. Remove from the oven and allow the mochi to cool completely in the pan.
Once cooled, cut into neat squares using a sharp knife. Clean or lightly moisten the knife between cuts for best results.
Servings and timing
This recipe makes 24 squares.
Preparation time: 15 minutes
Baking time: 55–60 minutes
Cooling time: about 30 minutes
Total time: approximately 1 hour and 45 minutes
Variations
For a more coconut-forward flavor, mix in 1 cup (80 g) of unsweetened shredded coconut before baking.
For a lighter, more cake-like texture, reduce the butter to ¼ cup (60 g).
For a lightly caramelized top, sprinkle 2 tablespoons of sugar evenly over the batter before baking.
For a flavored twist, add 1 teaspoon of almond extract or pandan extract along with the vanilla.
Storage/Reheating
Store Hawaiian Butter Mochi in an airtight container at room temperature for up to 2 days. For longer storage, refrigerate for up to 5 days. To reheat, warm individual pieces in the microwave for 10–15 seconds to restore softness and chewiness.
FAQs
What makes butter mochi chewy?
The chewiness comes from sweet glutinous rice flour, which has a high starch content that creates the signature mochi texture when baked.
Can I use regular rice flour instead?
No, regular rice flour will not produce the same chewy texture and will result in a dry, crumbly dessert.
Is Hawaiian butter mochi gluten-free?
Yes, as long as sweet glutinous rice flour is used, this recipe is naturally gluten-free.
Does butter mochi need refrigeration?
It can be kept at room temperature for short periods, but refrigeration helps extend its freshness.
Why is my butter mochi too dense?
Overbaking or incorrect measurements, especially too much flour, can make the texture overly dense.
Can I reduce the sugar?
You may reduce the sugar slightly, but too much reduction can affect both sweetness and texture.
Can I freeze butter mochi?
Yes, cut into portions and freeze in an airtight container for up to one month. Thaw at room temperature before reheating.
Should butter mochi be served warm or cool?
It can be enjoyed either way, but many prefer it slightly warm for maximum chewiness.
Why did the top crack while baking?
Small cracks are normal and happen as the batter sets and rises in the oven.
Can I add toppings before baking?
Yes, shredded coconut or a light sugar sprinkle works well, but heavy toppings may sink.
Conclusion
Gorgeous Hawaiian Butter Mochi is a timeless dessert that showcases how simple ingredients can create something truly special. With its chewy texture, rich buttery flavor, and subtle coconut notes, this recipe is a wonderful introduction to island-style baking and a guaranteed crowd-pleaser you’ll want to make again and again.
This Gorgeous Hawaiian Butter Mochi is a chewy, buttery, and lightly crisp dessert that combines the richness of cake with the texture of traditional mochi. Naturally gluten-free and made in one bowl, it’s perfect for gatherings and easy to prepare.
Author:Sophia
Prep Time:15 minutes
Cook Time:55 minutes
Total Time:1 hour 45 minutes
Yield:24 squares
Category:Dessert
Method:Baking
Cuisine:Hawaiian
Diet:Gluten Free
Ingredients
16 oz (450 g) Mochiko flour (sweet glutinous rice flour)
2 cups (400 g) granulated sugar
1 ½ teaspoons baking powder
½ teaspoon salt
4 large eggs (room temperature)
2 cups (480 ml) whole milk (room temperature)
13 fl oz (400 ml) coconut milk
½ cup (115 g) unsalted butter, melted
2 teaspoons vanilla extract
Instructions
Preheat the oven to 350°F (180°C). Grease a 9×13-inch (23×33 cm) baking pan with butter and line with parchment paper, leaving overhang for easy removal.
In a large mixing bowl, whisk together Mochiko flour, sugar, baking powder, and salt until well combined.
Add the eggs and whisk until incorporated.
Gradually pour in whole milk and coconut milk, mixing until the batter is smooth.
Add melted butter and vanilla extract, whisking until fully combined and lump-free.
For a smoother texture, strain the batter through a sieve into the prepared baking pan.
Bake for 50 to 60 minutes or until the top is golden and a toothpick inserted comes out mostly clean.
Let the mochi cool completely in the pan.
Once cooled, cut into squares using a clean or moistened sharp knife.
Notes
Do not substitute regular rice flour for Mochiko flour—it won’t yield the same chewy texture.
Let the mochi cool completely before cutting to get clean edges.
Store in an airtight container at room temperature for up to 2 days or refrigerate for up to 5 days.
Microwave individual squares for 10–15 seconds to restore chewiness.


