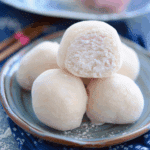
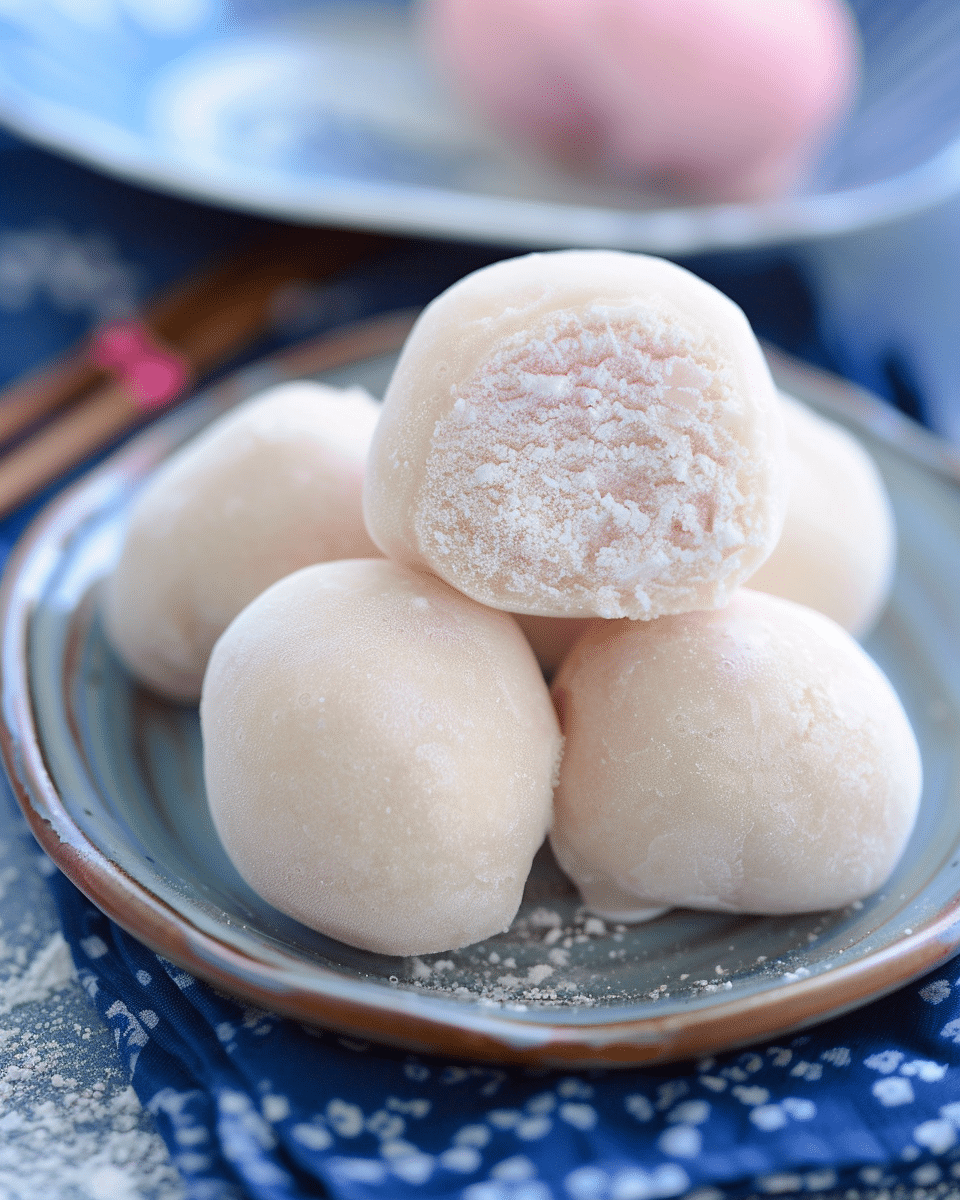
Japanese Mochi Ice Cream is one of those desserts that feels like it should only be made by professionals—but once I got into it, I realized how easy and fun it really is. This recipe creates a deliciously chewy, slightly sweet rice dough that wraps around scoops of creamy ice cream, creating a refreshing and irresistible bite-sized treat. Whether I’m indulging in a classic vanilla or playing around with flavors like matcha or mango, mochi ice cream is always a hit in my freezer.
Why You’ll Love This Recipe
I love how customizable this recipe is. I can use any kind of ice cream—store-bought or homemade—and tailor it to my taste. The dough comes together quickly in the microwave, and though it’s sticky, it’s manageable with the help of cornstarch. I find this recipe surprisingly simple to execute, and the end result is both impressive and fun to eat. It’s perfect for impressing guests or for satisfying my own sweet tooth on a hot day.
Ingredients
(Here’s a tip: Check out the full list of ingredients and measurements in the recipe card below.)
-
vanilla ice cream
-
sweet glutinous rice flour
-
granulated sugar
-
water
-
red food coloring (optional)
-
cornstarch (or potato starch) for dusting
Directions
-
I start by scooping out 12 two-tablespoon-sized balls of ice cream and placing them on a parchment-lined tray in the freezer.
-
In a microwave-safe bowl, I combine the sweet rice flour, sugar, and water. After covering with plastic wrap, I microwave it for 1 minute.
-
I whisk the mixture to smooth out lumps, then microwave for another minute.
-
Switching to a wet rubber spatula (not the whisk anymore), I stir the sticky dough.
-
I microwave one last time for 30 seconds. If I’m using food coloring, I stir it in now.
-
I generously dust parchment paper with cornstarch, then transfer the sticky dough onto it, adding more cornstarch on top.
-
I roll the dough into a rectangle, at least 1/4-inch thick, continuing to dust with cornstarch to avoid sticking.
-
Once rolled out, I chill the dough in the fridge for 30 minutes to firm up.
-
I then cut the dough into 3 ¾ inch circles using a cutter or a glass.
-
Working quickly, I place a frozen ice cream scoop in the center of each dough circle, wrap it around the ice cream, and pinch the edges to seal.
-
I wrap each mochi ball in plastic wrap, seam-side down, and freeze again for at least 2 hours.
-
When I’m ready to eat, I let them sit out for a few minutes to soften before enjoying.
Servings and timing
This recipe makes 12 mochi ice cream balls.
Prep time: 20 minutes
Cook time: 3 minutes
Chill & freeze time: 2.5 hours total
Variations
I love that I can play with both the dough and the ice cream flavors. Matcha, chocolate, mango, or strawberry ice creams are all great choices. I’ve also tried coloring the mochi dough with natural food dyes like beetroot or spirulina to match different flavors. For a dairy-free option, I sometimes use coconut milk ice cream or fruity sorbets for a refreshing twist.
storage/reheating
I keep the finished mochi ice cream in an airtight container in the freezer for up to 1 week. When I want to eat one, I just take it out and let it rest for 2 to 3 minutes to soften slightly before biting in. There’s no need for reheating since it’s a frozen dessert.
FAQs
What type of flour do I need to make mochi?
I always use sweet glutinous rice flour, often labeled as Mochiko. Regular rice flour won’t give me the chewy texture I want.
Can I make this without a microwave?
Yes, I can cook the dough on the stovetop over medium heat, stirring constantly until it thickens. It just takes a bit more attention and stirring.
Why is my mochi dough so sticky?
Mochi dough is naturally very sticky. I make sure to dust my hands, tools, and surface generously with cornstarch to manage it.
Can I use homemade ice cream?
Absolutely! I sometimes use my homemade ube or coconut milk ice cream. The key is to make sure the scoops are very firm before wrapping them.
How do I get the mochi to keep its shape?
After wrapping, I place each ball seam-side down in an egg carton or muffin tin lined with plastic wrap. This helps the shape hold while freezing.
Conclusion
Making Japanese Mochi Ice Cream at home is something I never thought I could pull off until I tried it. With a little patience and a lot of cornstarch, I now get to enjoy this sweet, chewy, and creamy dessert anytime I want. It’s a fun and satisfying treat that always impresses—whether I’m making it for guests or just myself.
PrintHow To Make Japanese Mochi Ice Cream
Japanese Mochi Ice Cream is a chewy and creamy handheld dessert made by wrapping sweet rice dough around frozen scoops of ice cream. It’s a fun, refreshing, and customizable treat you can easily make at home.
- Prep Time: 20 minutes
- Cook Time: 3 minutes
- Total Time: 2 hours 50 minutes
- Yield: 12 mochi balls
- Category: Dessert
- Method: Microwave
- Cuisine: Japanese
- Diet: Vegetarian
Ingredients
- 1 pint vanilla ice cream (or flavor of choice)
- 1 cup sweet glutinous rice flour (Mochiko)
- 1/4 cup granulated sugar
- 3/4 cup water
- Red food coloring (optional)
- Cornstarch or potato starch, for dusting
Instructions
- Scoop 12 two-tablespoon-sized balls of ice cream onto a parchment-lined tray. Freeze until solid, at least 1 hour.
- In a microwave-safe bowl, combine rice flour, sugar, and water. Cover with plastic wrap and microwave for 1 minute.
- Whisk mixture to remove lumps. Microwave for another 1 minute, then stir with a wet spatula.
- Microwave for an additional 30 seconds until translucent and sticky. Stir in food coloring if using.
- Dust parchment paper with cornstarch and transfer dough onto it. Dust more cornstarch on top and roll out to 1/4-inch thickness.
- Chill dough in the fridge for 30 minutes.
- Cut dough into 3 3/4-inch circles. Place a frozen ice cream scoop in the center of each and wrap dough around, pinching edges to seal.
- Wrap each mochi ball in plastic wrap, seam-side down, and freeze for at least 2 hours.
- Let sit at room temp for 2–3 minutes before serving.
Notes
- Use any ice cream flavor—matcha, mango, chocolate, etc.
- Dairy-free options like coconut milk ice cream work well.
- Use natural food dyes (beetroot, spirulina) to color dough.
- Store mochi in a sealed container in the freezer for up to 1 week.
- For best shape, freeze seam-side down in a muffin tin or egg carton lined with plastic wrap.
Nutrition
- Serving Size: 1 mochi ball
- Calories: 120
- Sugar: 10g
- Sodium: 15mg
- Fat: 4g
- Saturated Fat: 2.5g
- Unsaturated Fat: 1g
- Trans Fat: 0g
- Carbohydrates: 18g
- Fiber: 0g
- Protein: 1g
- Cholesterol: 10mg

