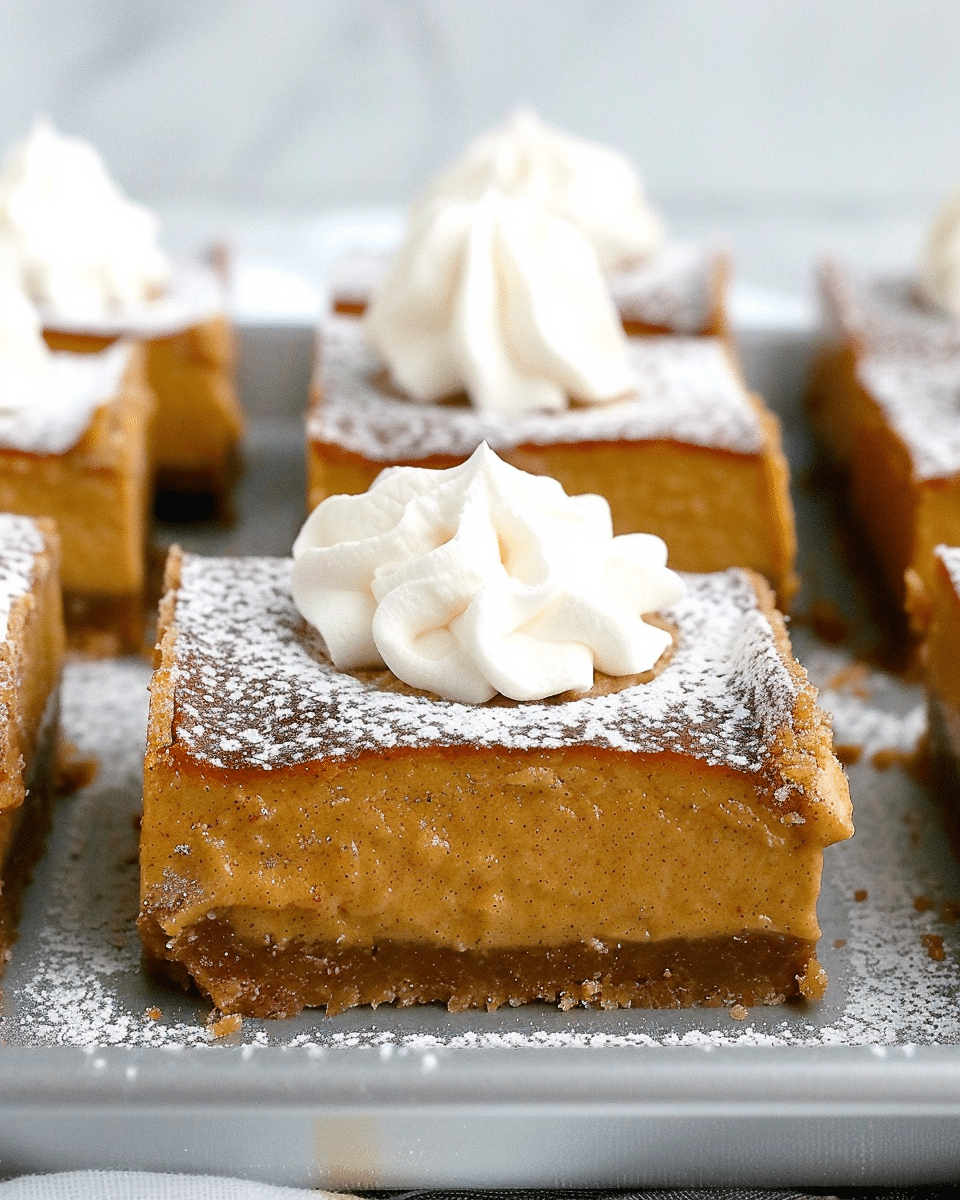
These pumpkin cheesecake bars combine the luscious creaminess of a classic cheesecake with the warm, spiced flavor of pumpkin pie, all layered over a crisp gingersnap cookie crust. They’re rich, smooth, and perfectly spiced—ideal for fall gatherings, Thanksgiving desserts, or any time I want a treat that feels cozy and indulgent without the hassle of a traditional cheesecake.
Why I’ll Love This Recipe
I love how easy this recipe is compared to making a full cheesecake. The bars bake evenly, slice neatly, and don’t require a water bath. The gingersnap crust adds a delightful crunch and spicy kick that pairs beautifully with the creamy pumpkin filling. It’s a simple, make-ahead dessert that always impresses guests and makes my kitchen smell like fall.
Ingredients
(Tip: You’ll find the full list of ingredients and measurements in the recipe card below.)
16 ounces cream cheese, softened to room temperature
½ cup granulated sugar
¼ cup light brown sugar, packed
1 cup pumpkin purée (not pumpkin pie filling)
¼ cup sour cream
1 teaspoon pure vanilla extract
2 tablespoons all-purpose flour
1 teaspoon ground cinnamon
½ teaspoon ground nutmeg
¼ teaspoon ground cloves
¼ teaspoon salt
2 large eggs, at room temperature
Directions
Preheat the oven to 325°F (163°C). Line an 8×8-inch baking pan with parchment paper, leaving enough overhang on the sides for easy removal later.
To make the crust, place the gingersnap cookies in a food processor and pulse until fine crumbs form. Add granulated sugar and melted butter, pulsing until the mixture resembles wet sand.
Press the crumb mixture firmly into the bottom of the prepared pan, spreading it evenly to form a compact layer. Bake the crust for 8–10 minutes, then remove it from the oven and let it cool slightly while preparing the filling.
In a large mixing bowl, beat the softened cream cheese on medium speed until smooth and creamy, about 2 minutes.
Add both sugars and continue beating until fully incorporated and smooth.
Mix in the pumpkin purée, sour cream, and vanilla extract, beating on low until well combined.
Add the flour, cinnamon, nutmeg, cloves, and salt, mixing just until blended.
Lightly beat the eggs in a separate bowl, then add them to the batter and mix on low speed until just combined. Avoid overmixing to keep the texture light and creamy.
Pour the cheesecake filling evenly over the cooled gingersnap crust, smoothing the top with a spatula.
Bake for 40–45 minutes, or until the center is mostly set with a slight jiggle. The bars will firm up as they cool.
Remove from the oven and allow the cheesecake to cool completely at room temperature, about 2–3 hours.
Once cooled, cover and refrigerate for at least 4 hours or overnight to let the flavors develop and the texture set.
When ready to serve, lift the bars from the pan using the parchment paper overhang. Cut into squares with a clean, sharp knife, wiping the blade between cuts for neat edges.
Servings And Timing
Servings: 16 bars
Prep Time: 15 minutes
Cook Time: 40–45 minutes
Cooling & Chill Time: 4–6 hours (or overnight)
Variations
Graham Cracker Crust: If I don’t have gingersnaps, I can substitute crushed graham crackers and add ½ teaspoon ground ginger for a similar warm flavor.
Chocolate Version: For a twist, I sometimes use chocolate wafer cookies instead of gingersnaps, giving the bars a mocha-pumpkin flavor.
Spice Blend: Instead of adding cinnamon, nutmeg, and cloves separately, I can use 1½ teaspoons of pumpkin pie spice for convenience.
Mini Cheesecakes: I can bake the mixture in muffin tins for single-serve pumpkin cheesecake bites—perfect for parties.
Topping Ideas: A drizzle of caramel sauce, a dollop of whipped cream, or a sprinkle of crushed pecans makes these bars even more irresistible.
Storage/Reheating
Refrigeration: I store the bars in an airtight container in the refrigerator for up to 5 days. The texture actually improves after a day as the flavors meld together.
Freezing: These bars freeze beautifully. I wrap them individually in plastic wrap and then place them in a freezer-safe bag or container. They keep well for up to 3 months. When I’m ready to serve, I thaw them overnight in the fridge.
Reheating: Though I usually enjoy them chilled, I can warm a bar gently in the microwave for 10–15 seconds if I prefer a softer texture.
FAQs
1. Can I Use Pumpkin Pie Filling Instead Of Pumpkin Purée?
I don’t recommend it. Pumpkin pie filling already contains sugar and spices, which would alter the sweetness and spice balance of the cheesecake mixture. Plain pumpkin purée gives me control over the flavor and texture.
2. Why Did My Cheesecake Crack On Top?
Cracks can happen if I overmix the batter or bake it too long. I mix only until the ingredients are combined and remove the bars from the oven when the center still has a slight wobble. Cooling gradually also helps prevent cracks.
3. Can I Make These Bars Ahead Of Time?
Yes! These bars actually taste better the next day. I like to prepare them a day in advance, chill them overnight, and slice them just before serving.
4. How Do I Get Clean Cuts?
I use a sharp knife dipped in hot water and wiped clean between cuts. Lifting the bars out of the pan using the parchment paper also makes slicing easier.
5. Can I Double The Recipe?
Absolutely. I double all the ingredients and bake the bars in a 9×13-inch pan. The baking time increases to about 55–60 minutes, but the texture stays just as creamy and delicious.
Conclusion
These pumpkin cheesecake bars with gingersnap crust are my go-to fall dessert. They’re smooth, rich, and filled with cozy pumpkin spice flavor, balanced by the crisp, buttery crust underneath. They look impressive, taste indulgent, and are easy enough for a casual weeknight bake or a festive holiday table. Once I made them the first time, they became a must-bake tradition every autumn.