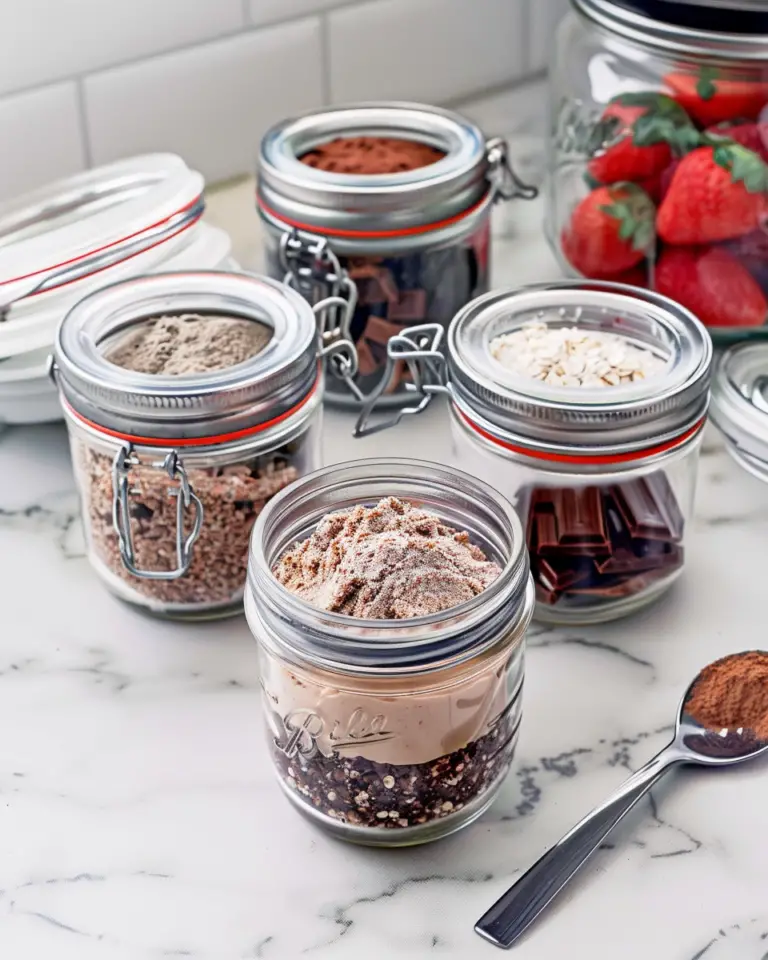
I truly love making this Homemade Roasted Strawberry Ice Cream Recipe because it brings the deep, natural sweetness of strawberries to life in a way that feels both nostalgic and special. The roasting process turns fresh berries into a luscious, syrupy puree that infuses the ice cream with complex flavors I haven’t found in any store-bought version. Every time I scoop this creamy, fruity delight, I feel like I’m indulging in summer’s best gift—even when it’s chilly outside.
Why You’ll Love This Homemade Roasted Strawberry Ice Cream Recipe
What really sets this ice cream apart for me is the unparalleled flavor that roasting the strawberries brings out. When you roast those berries just right, their natural sugars caramelize, creating a depth of flavor that’s rich, sweet, and slightly tangy all at once. It’s like tasting strawberries in full, sun-ripened perfection, but with a soft, almost jammy warmth that melds beautifully into each creamy bite. I find myself savoring each spoonful far more than I would with plain strawberry ice cream.
Another thing I adore about this homemade recipe is how approachable it is, despite feeling so decadent. The ingredients are straightforward and easy to find, and roasting the strawberries doesn’t demand any fancy equipment. It’s a perfect project for a relaxed weekend, and the process—especially the refrigerating and churning—offers a satisfying anticipation as the ice cream comes together. I often serve this at summer parties or casual family dinners where it always disappears quickly. What makes it truly stand out is how homemade it tastes: rich, fresh, and full of personality.
Ingredients You’ll Need

Every ingredient in this recipe plays an essential role in creating the creamy texture, luscious color, and vibrant flavor that make this ice cream so irresistible. From crisp strawberries to silky vanilla paste, each component blends perfectly to deliver that unforgettable taste.
- Fresh strawberries (1 pound): Roasting these intensifies their natural sweetness and develops a rich strawberry flavor that’s the star of this recipe.
- Granulated white sugar (1/3 cup + 2/3 cup): The sugar balances the tartness of the strawberries and ensures a smooth, creamy texture in the ice cream.
- Lemon juice (1 tablespoon): Adds brightness that keeps the sweetness from feeling too heavy and layers in a fresh citrus note.
- Pinch of salt: Enhances and rounds out the strawberry flavor, making every bite pop.
- Heavy cream (2 cups): Provides richness and that irresistibly creamy mouthfeel I always crave.
- Whole milk (1 cup): Lightens the texture slightly while still maintaining creaminess.
- Light corn syrup (1 tablespoon, optional): Helps prevent ice crystals, resulting in a silky smooth ice cream.
- Vanilla bean paste (1 tablespoon): Adds warm, aromatic depth and beautiful specks that make the ice cream visually appealing.
- Fine sea salt (1/4 teaspoon): Balances the sweetness and enhances the overall flavor complexity.
- Roasted strawberry puree (about 3/4 cup): The concentrated essence of the roasted strawberries that infuses the ice cream with luscious flavor.
Directions
Step 1: Preheat your oven to 375°F. In a baking dish, toss the fresh strawberries with 1/3 cup of granulated sugar, the tablespoon of lemon juice, and a pinch of salt until the berries are evenly coated.
Step 2: Roast the strawberries for 30 to 35 minutes, stirring a couple of times during baking. You want the strawberries to become soft, syrupy, and slightly reduced; this step removes water, preventing icy ice cream and concentrating the flavor.
Step 3: Once roasted, allow the strawberries to cool completely. Then transfer them to a blender and puree until smooth. Measure out about 3/4 cup of this thick roasted strawberry puree for the ice cream base.
Step 4: In a large bowl, whisk together the whole milk, 2/3 cup granulated sugar, light corn syrup (if using), vanilla bean paste, and 1/4 teaspoon fine sea salt until the sugar is mostly dissolved. Gently fold in the heavy cream and the cooled roasted strawberry puree, mixing until fully combined.
Step 5: Cover the ice cream base and refrigerate for at least 4 hours, but preferably overnight. Having a very cold base before churning helps develop a richer, creamier texture. If you’re short on time, you can skip this step, but the ice cream won’t be quite as luscious.
Step 6: Pour the chilled ice cream base into your ice cream maker and churn according to your manufacturer’s instructions, usually 25 to 30 minutes, until it reaches a thick soft-serve consistency.
Step 7: Transfer the churned ice cream to a freezer-safe container. Press parchment or plastic wrap directly against the surface, cover tightly, then freeze for 4 to 6 hours to firm up until scoopable. If frozen longer, simply let it sit at room temperature for about 10 minutes before serving to soften slightly.
Servings and Timing
This recipe makes about 1 generous serving of ice cream—or one very generous single scoop, depending on your appetite! Considering the prep, roasting, chilling, churning, and freezing, the total time clocks in around 8 hours and 45 minutes, but much of that is hands-off time. You’ll spend roughly 10 minutes prepping and roasting, plus 30 minutes roasting, and then at least 4 hours chilling the base. Churning takes about 25 to 30 minutes, and the final freezing requires 4 to 6 hours for the ice cream to fully set.
How to Serve This Homemade Roasted Strawberry Ice Cream Recipe

Personally, I like to serve this ice cream in a classic bowl or a delicate glass dish that shows off its beautiful natural pink hue and the tiny specks of vanilla bean. A simple garnish of fresh mint or a few fresh strawberries on top adds a lovely pop of color and freshness. For an extra indulgence, a drizzle of balsamic glaze or a sprinkle of toasted almonds offers a wonderful contrast to the sweetness.
This ice cream pairs beautifully with light desserts like angel food cake or a shortbread cookie on the side. If I’m serving it at a casual summer barbecue or family dinner, I love offering homemade waffle cones or crispy tuile cookies for guests to make their own strawberry ice cream cones. It feels fun and festive!
I also find that chilled rosé or a sparkling elderflower lemonade complements the fruity vibrancy of the ice cream perfectly. For an adult twist, a glass of Moscato or a fresh strawberry cocktail with a sprig of thyme can elevate the entire experience. No matter the occasion—be it a weeknight treat, holiday gathering, or an impromptu dessert party—serving this ice cream straight from the freezer so it’s wonderfully chilled but easily scoopable always wins me over.
Variations
One of the things I enjoy most about this Homemade Roasted Strawberry Ice Cream Recipe is how easy it is to customize. If you want to switch things up, you can substitute the vanilla bean paste with a teaspoon of pure vanilla extract or even a splash of almond extract for a slightly nutty twist. For a dairy-free or vegan version, I’ve had great success using coconut cream in place of heavy cream and almond or oat milk instead of whole milk—just make sure to use a sweetener like maple syrup if you want a natural touch.
If you love experimenting with flavors, try adding a handful of fresh basil leaves or a touch of cracked black pepper to the berries before roasting for an unexpected herbal warmth. You could also swirl in chunks of dark chocolate or swirl in balsamic reduction after churning for a gourmet touch. For a quicker method, roasting the strawberries on a stovetop skillet with a bit of sugar and lemon juice works too, although the oven roasting really gives the best deep flavor and texture.
Storage and Reheating
Storing Leftovers
If you have any leftovers, I recommend storing the ice cream in an airtight, freezer-safe container to maintain its freshness. Press parchment paper or plastic wrap over the surface before sealing the lid to prevent ice crystals from forming. Kept properly in the freezer, the ice cream will stay delicious for up to 2 weeks.
Freezing
This ice cream freezes very well. After churning, transfer it to your container and freeze it for at least 4 hours until firm. Freezing in a shallow, wide container helps it freeze evenly. When you’re ready to eat, remove the ice cream from the freezer and let it sit at room temperature for about 10 minutes to soften slightly before scooping.
Reheating
Since this is ice cream, reheating isn’t an option, but you can restore the perfect scoopable texture by letting it soften naturally at room temperature for about 10 minutes. Avoid microwaving or leaving it out too long, as that will cause it to melt unevenly and lose its creamy structure.
FAQs
Can I use frozen strawberries instead of fresh?
You can, but fresh strawberries give the best texture and flavor when roasted. Frozen berries tend to release more water as they thaw, which might make your roasted puree less concentrated and could lead to icier ice cream. If using frozen, try to drain excess liquid before roasting.
Is the corn syrup necessary?
Corn syrup isn’t required but it helps improve the texture by preventing ice crystals, giving you smoother ice cream. If you don’t have it or prefer not to use it, you can leave it out; the ice cream may be a little less creamy but still delicious.
How long can I keep this ice cream in the freezer?
For optimal flavor and texture, consume the ice cream within 2 weeks. After that, it may start to develop ice crystals and lose some of its creamy qualities, but it will still be safe to eat for about a month if properly stored.
Can I make this recipe without an ice cream maker?
Yes! You can freeze the mixture in a shallow container and stir vigorously every 30 minutes for a few hours to break up ice crystals until smooth and creamy. It takes longer and requires some elbow grease but works well in a pinch.
Why do I need to roast the strawberries?
Roasting removes excess water and concentrates the natural sugars and flavors in the strawberries, which prevents icy ice cream and creates that deep, luscious taste that makes this recipe stand out. It’s an essential step you don’t want to skip.
Conclusion
I can’t recommend this Homemade Roasted Strawberry Ice Cream Recipe enough for anyone who loves a truly fresh, handcrafted dessert. It’s a perfect way to celebrate the sweet and fragrant essence of strawberries with a creamy, dreamy texture that feels like a little scoop of summer happiness. Give it a try—you’ll be hooked from the very first bite!