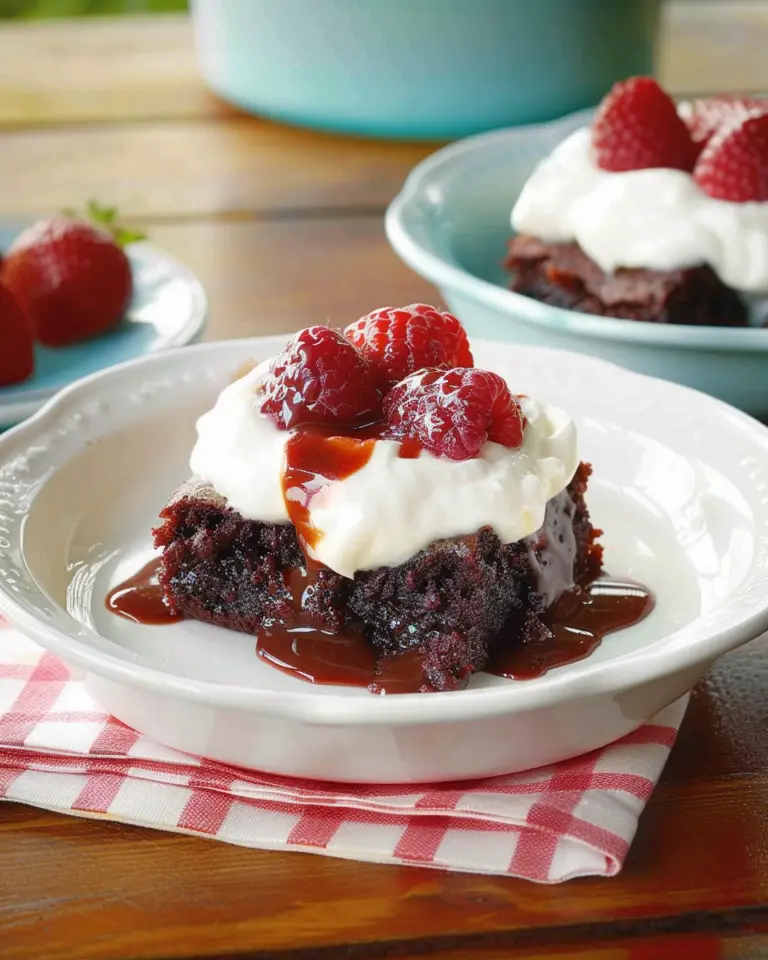
I absolutely adore crafting this Homemade Vanilla Ice Cream Recipe from scratch because it captures the pure essence of creamy, dreamy vanilla with such simple elegance. Making ice cream at home feels like a little celebration every time—there’s something magical about turning just a handful of everyday ingredients into a luscious, velvety treat that tastes infinitely better than anything store-bought. I love how this recipe strikes the perfect balance between rich and light, with a smooth texture and that unmistakable warm vanilla aroma that fills the kitchen and brings smiles all around.
Why You’ll Love This Homemade Vanilla Ice Cream Recipe
Whenever I make this Homemade Vanilla Ice Cream Recipe, I fall in love again with its irresistibly smooth texture and gentle vanilla flavor that is just sweet enough to satisfy without overpowering. The cane sugar gives it a clean sweetness, while the splash of sea salt subtly enhances all those fragrant vanilla notes. I find that the cream and milk blend gives the ice cream a perfect silkiness that melts beautifully in your mouth, making every spoonful utterly delightful.
What really excites me about this recipe is how straightforward it is to prepare. With only five essential ingredients and a little patience, I can whip up a batch that’s ready to enjoy in no time. The chilling step is key to achieving the right consistency, but beyond that, it’s mostly hands-off, which I appreciate on busy days. I’ve served this creamy vanilla ice cream at family gatherings, summer barbecues, and cozy movie nights, and it effortlessly elevates any occasion. It stands out because it’s simple, fresh, and customizable—a true crowd-pleaser that never disappoints.
Ingredients You’ll Need

All you need to make this delicious Homemade Vanilla Ice Cream Recipe are a handful of simple, high-quality ingredients that each add something special—from richness and sweetness to depth of flavor and a hint of saltiness.
- Heavy cream: This is the base of the ice cream, adding creaminess and a luscious texture.
- Whole milk: Balances the richness of the heavy cream for a smooth mouthfeel.
- Cane sugar: Sweetens naturally and helps create a silky texture while enhancing flavor.
- Vanilla extract: The star flavor, providing that warm, aromatic vanilla essence.
- Sea salt: A pinch brightens all the flavors and rounds out the sweetness perfectly.
Directions
Step 1: In a medium saucepan, combine the heavy cream, whole milk, cane sugar, vanilla extract, and sea salt. Warm this mixture over medium-low heat. Remember to whisk often and gently—you want to dissolve the sugar completely and warm the liquid without bringing it to a boil. This will take about 5 minutes, and you’ll know it’s ready when the sugar is fully dissolved and the mixture feels pleasantly warm to the touch.
Step 2: Pour your warm ice cream base into a heatproof bowl and cover it tightly. Then, place it in the fridge to chill for at least 2 hours, though I often let mine rest overnight to develop the flavors even more fully. Chilling the base thoroughly before churning is key to making a smooth ice cream.
Step 3: When you’re ready, remove the chilled mixture from the fridge and whisk it briefly to reincorporate any settled cream. Then, pour it into your frozen ice cream maker and churn according to the manufacturer’s instructions for about 20 to 30 minutes. The ice cream will look soft and creamy after this step.
Step 4: For scoopable, firmer ice cream, transfer it to an airtight container and place it in the freezer for an additional 2 to 4 hours. This step makes it perfect for serving and texture, especially if you prefer that classic firm scoop over soft-serve style.
Servings and Timing
This recipe makes about 1 quart, which serves between 4 to 8 people depending on portion size—perfect for sharing at a small gathering or indulging over a couple of days. The prep time is just 30 minutes, but expect to chill your base for at least 2 hours before churning to get that perfect consistency. The cooking itself is minimal since you’re only warming the mixture gently, and the total time, including chilling and freezing, adds up to about 2 hours and 30 minutes. Keep in mind that freezing after churning will take an extra 2 to 4 hours if you like a firmer texture.
How to Serve This Homemade Vanilla Ice Cream Recipe

I love serving this vanilla ice cream in a variety of fun and tasty ways. Plain scoops in charming bowls or cones always win hearts, but it’s also fantastic alongside warm desserts like apple pie, chocolate brownies, or caramelized bananas. The creamy vanilla tones balance rich, gooey, or spiced desserts perfectly. For a fresh twist, I sprinkle some chopped toasted nuts or drizzle a bit of homemade chocolate sauce on top—it makes it feel fancy without any fuss.
For an elevated presentation, try garnishing with a few fresh mint leaves, edible flowers, or even a pinch of finely grated citrus zest to add visual appeal and a refreshing aroma. I also like to serve it with a glass of Moscato or a light Riesling for wine lovers, or a sparkling lemonade for a non-alcoholic option. This ice cream is perfect chilled straight from the freezer, and I usually scoop it right into chilled dessert bowls to keep it from melting too quickly. Portion-wise, one to two scoops per person is ideal, making it a satisfying yet not overwhelming dessert.
This recipe shines at summer barbecues, birthday parties, and family dinners—it really brings a special touch to any celebration or even a weeknight dessert when you want something a little special but straightforward. I always find it brings smiles and sweet memories every time.
Variations
One fun thing I love about this Homemade Vanilla Ice Cream Recipe is how flexible it is. If you want to switch things up, you can substitute the cane sugar with honey or maple syrup—though I’d slightly reduce the liquid content to prevent ice crystals. For a dairy-free or vegan version, swapping heavy cream and whole milk for full-fat coconut milk works wonderfully and lends a subtle tropical note that’s just delightful.
If you’re a vanilla fan but crave a twist, I recommend adding some vanilla bean seeds to the base or infusing the milk with fresh herbs like lavender or mint during warming for a fresh, floral undertone. For an even more indulgent treat, try folding in chunks of homemade brownie, roasted nuts, or fresh berries after churning. I also experiment sometimes with slow-churning the ice cream base in a stand mixer if I’m in a pinch without an ice cream maker, but results are best with proper churning equipment.
Storage and Reheating
Storing Leftovers
If you do have leftovers (and you probably will), I always store them in airtight, freezer-safe containers to keep the ice cream fresh and to prevent it from absorbing any other freezer odors. Glass or heavy-duty plastic containers with tight-fitting lids work best. I find the ice cream maintains its best quality for up to one month in the freezer, though sometimes it doesn’t last that long at my house!
Freezing
This ice cream freezes beautifully and can be stored for up to a month or so. To freeze it properly, make sure it’s chilled completely before transferring it to your container. Leave some headspace in the container for expansion and seal it tightly to avoid freezer burn. When you’re ready to enjoy it again, just remove it from the freezer and allow it to sit at room temperature for about 5 to 10 minutes, which softens it just enough for easy scooping.
Reheating
Since this is ice cream, you won’t want to reheat it like a cooked dish! The best “reheating” is simply letting it thaw at room temperature for a short while before serving. Avoid microwaving or heating directly, as that can ruin the texture and cause it to melt unevenly. If it’s too hard straight from the freezer, the gentle thaw at room temperature works perfectly to restore its creamy scoopability without compromising flavor.
FAQs
Can I make this ice cream without an ice cream maker?
Absolutely! While an ice cream maker gives the best results with that classic creamy texture, you can still make this recipe without one. Simply place the chilled mixture in a shallow container and freeze, stirring vigorously every 30 minutes for a few hours to break up ice crystals. This manual method takes more time and effort but yields delicious results.
How long should I chill the ice cream base before churning?
I recommend chilling the base for at least 2 hours, but overnight is even better if you have time. A fully chilled base ensures the fat solidifies properly during churning, resulting in smoother, creamier ice cream.
Can I add mix-ins like chocolate chips or nuts? When is the best time to add them?
Yes! Mix-ins are fantastic for customizing your ice cream. I suggest folding them in during the last 5 minutes of churning or right after you finish churning but before the final freezing step. That way, they’re evenly distributed without weighing down the texture.
What type of vanilla extract works best?
I prefer pure vanilla extract for a deep, true vanilla flavor that really shines through. You can also use vanilla bean paste or scrape in seeds from a vanilla bean pod for an even more intense and luxurious flavor.
How can I prevent ice crystals from forming in my ice cream?
The key is thorough chilling of the ice cream base before churning and proper churning itself to incorporate air and break up large ice crystals. After churning, freezing the ice cream in a well-sealed container with minimal air space helps keep its smooth texture. Also, avoid frequent thawing and refreezing, which can increase ice crystal formation.
Conclusion
I genuinely believe this Homemade Vanilla Ice Cream Recipe is a must-try for anyone who loves simple, satisfying desserts made with heart and good ingredients. It’s incredibly rewarding to scoop up the creamy, vanilla-scented goodness and share it with loved ones. Whether you’re a seasoned ice cream maker or just starting out, this recipe brings joy and nostalgia in every bite. Give it a go—I can’t wait for you to experience the magic of homemade vanilla ice cream!