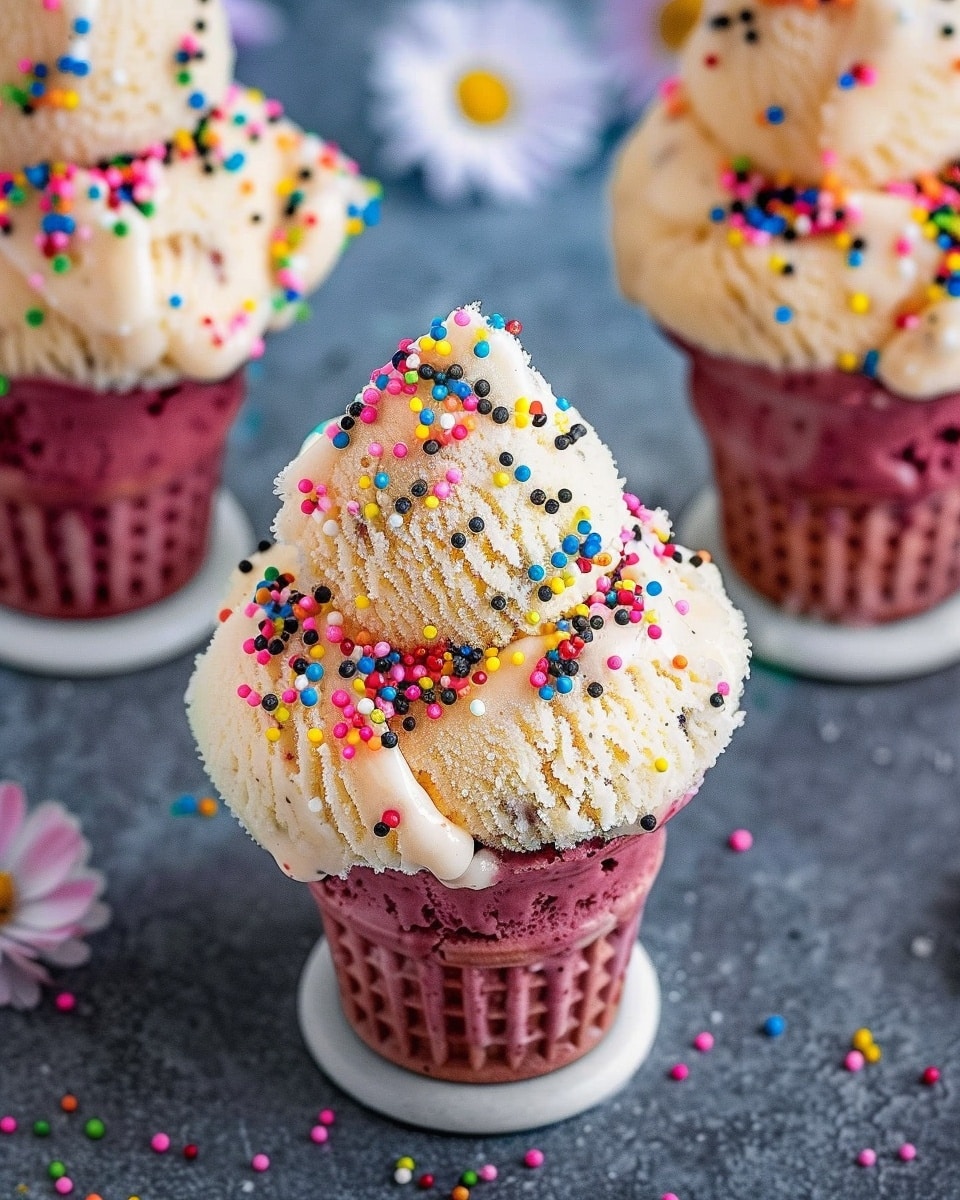
This creamy protein ice cream is the perfect healthy frozen dessert for anyone craving something sweet while still getting an extra boost of protein. Made with just a few simple ingredients and no ice cream maker required, it delivers a rich, smooth texture that tastes like traditional ice cream while being lighter and more nutritious. Whether you enjoy it after a workout or as a refreshing snack, this homemade treat is easy to customize with your favorite flavors and toppings.
Why You’ll Love This Recipe
Made with only 3 simple ingredients
No ice cream machine required
Packed with protein in every serving
Naturally customizable with different flavors
Creamy and smooth texture without dairy-heavy ingredients
Perfect for post-workout snacks or healthy desserts
Easy to prepare in just minutes
Vegan and gluten-free friendly depending on the protein powder used
Ingredients
(Tip: You’ll find the full list of ingredients and measurements in the recipe card below.)
28 ounces canned full-fat coconut milk, chilled
1 cup vanilla protein powder
1 to 2 tablespoons allulose or preferred granulated sweetener
1 teaspoon vanilla extract (optional)
Directions
Place a deep loaf pan or freezer-safe container into the freezer while preparing the mixture.
Add the chilled coconut milk into a blender or food processor. Blend for about 1 minute until completely smooth and creamy.
Add the protein powder, sweetener, and vanilla extract if using. Blend again until the mixture becomes thick and silky.
Pour the mixture into the chilled loaf pan.
Freeze the ice cream for 1 hour, stirring every 20 minutes during the first hour to help prevent ice crystals and maintain a creamy texture.
Once frozen, let the ice cream sit at room temperature for 10 to 15 minutes before scooping.
Serve immediately and enjoy your creamy homemade protein ice cream.
Servings and timing
Servings: 16 servings
Prep Time: 5 minutes
Freezing Time: 1 hour
Total Time: 1 hour 5 minutes
Variations
Chocolate Protein Ice Cream: Use chocolate protein powder and add 2 tablespoons cocoa powder.
Strawberry Protein Ice Cream: Blend in 1/2 cup frozen strawberries.
Peanut Butter Protein Ice Cream: Add 2 tablespoons natural peanut butter before blending.
Cookies and Cream: Stir crushed chocolate sandwich cookies into the mixture before freezing.
Banana Protein Ice Cream: Blend in 1 frozen banana for extra creaminess.
Mixed Berry Version: Add a handful of frozen mixed berries for a fruity twist.
Coffee Flavor: Mix in 1 teaspoon instant espresso powder for a coffee-inspired dessert.
Storage/Reheating
Store the protein ice cream in an airtight freezer-safe container for up to 5 days. To keep the texture creamy, press a layer of parchment paper or plastic wrap directly onto the surface before sealing.
Before serving, allow the ice cream to thaw at room temperature for 10 to 15 minutes for easier scooping.
If the ice cream becomes too icy after freezing, blend it again briefly to create a soft-serve consistency.
FAQs
Can I use whey protein powder?
Yes, but whey protein can sometimes create a slightly icy texture. Casein or plant-based protein powders usually produce creamier results.
Do I need an ice cream maker?
No, this is a no-churn recipe, so a blender and freezer are all you need.
Can I make this recipe vegan?
Yes. Use a plant-based protein powder such as pea or brown rice protein.
Why is my ice cream icy?
Using low-fat coconut milk or not stirring during freezing can lead to ice crystals forming.
Can I use almond milk instead of coconut milk?
You can, but the texture may be less creamy. Adding frozen banana can help improve consistency.
How much protein is in each serving?
Each serving contains approximately 15 grams of protein.
Can I reduce the sweetness?
Absolutely. Adjust the sweetener to your preferred taste.
How long does homemade protein ice cream last?
It stays fresh in the freezer for about 5 days when properly stored.
Can I add mix-ins?
Yes. Nuts, fruit, chocolate chips, or crushed cookies work well.
Is this recipe suitable after workouts?
Yes. The protein content makes it a great post-workout dessert or snack.
Conclusion
This homemade protein ice cream is proof that healthy desserts can still taste rich, creamy, and satisfying. With only a few ingredients and no special equipment required, it’s an easy recipe you can make anytime cravings hit. The customizable flavors make it perfect for experimenting with different combinations, and the high protein content makes it a smart treat you can enjoy guilt-free.
This creamy protein ice cream is a rich and satisfying frozen dessert packed with protein and made without an ice cream machine. Smooth, customizable, and easy to prepare, it is perfect for healthy snacks or post-workout treats.
Author:Sophia
Prep Time:5 minutes
Cook Time:0 minutes
Total Time:1 hour 5 minutes
Yield:16 servings
Category:Dessert
Method:Freeze
Cuisine:American
Diet:Vegan
Ingredients
28 ounces canned full-fat coconut milk, chilled
1 cup vanilla protein powder
1 to 2 tablespoons allulose or preferred granulated sweetener
1 teaspoon vanilla extract (optional)
Instructions
Place a deep loaf pan or freezer-safe container into the freezer while preparing the mixture.
Add the chilled coconut milk to a blender or food processor and blend for about 1 minute until smooth and creamy.
Add the protein powder, sweetener, and vanilla extract if using. Blend again until thick and silky.
Pour the mixture into the chilled loaf pan.
Freeze for 1 hour, stirring every 20 minutes during the first hour to help prevent ice crystals.
Let the ice cream sit at room temperature for 10 to 15 minutes before scooping.
Serve immediately and enjoy.
Notes
Use chocolate protein powder and cocoa powder for a chocolate variation.
Blend in frozen berries or banana for fruity flavors.
Plant-based protein powder keeps the recipe vegan-friendly.
Store in an airtight container in the freezer for up to 5 days.
If the ice cream becomes icy, blend briefly again for a soft-serve texture.