
Pierogi dough is a simple yet essential part of traditional Polish cuisine. Made with just a few pantry staples, this soft and elastic dough creates tender dumplings that work beautifully with both savory and sweet fillings. Whether you are preparing potato and cheese pierogi, mushroom-filled dumplings, or fruit-filled treats, this homemade dough delivers authentic flavor and texture every time.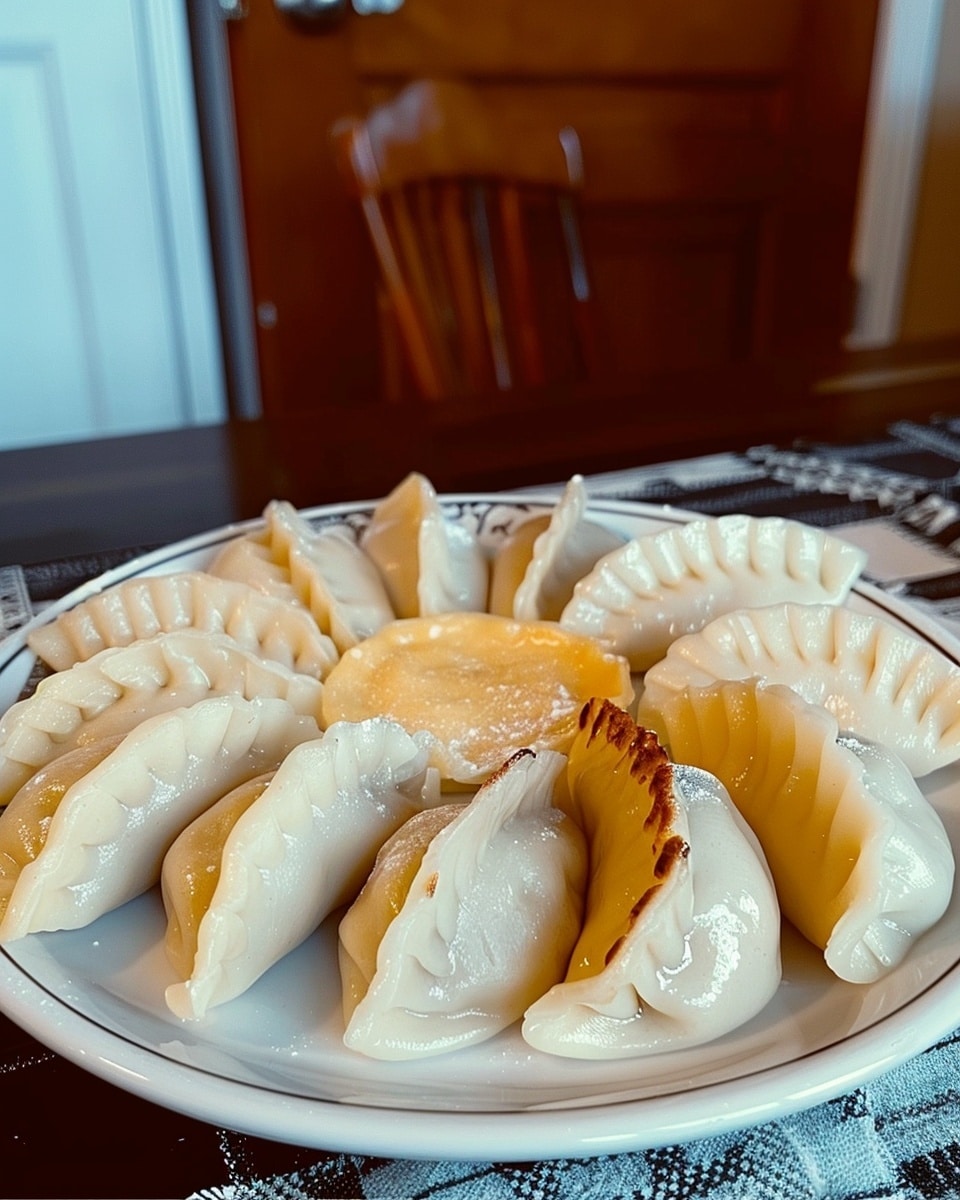
Why You’ll Love This Recipe
This pierogi dough recipe is easy to prepare and perfect for beginners as well as experienced home cooks. The dough is soft, smooth, and easy to roll without tearing. It holds fillings well and cooks into delicate dumplings with a satisfying texture.
You will also love how versatile this recipe is. It pairs wonderfully with traditional fillings like mashed potatoes and cheese, sautéed mushrooms, spinach, or sweet fruits. The ingredients are inexpensive and commonly found in most kitchens, making this recipe convenient and reliable.
Another great advantage is that the dough can be prepared ahead of time and refrigerated or frozen for later use, making meal preparation easier during busy days.
Ingredients
(Tip: You’ll find the full list of ingredients and measurements in the recipe card below.)
4 cups all-purpose flour
1 teaspoon salt
4 tablespoons vegetable oil
1 ¼ cups hot water
1 large egg
Extra flour for dusting
Directions
In a large mixing bowl, combine the all-purpose flour and salt. Stir well to evenly distribute the salt throughout the flour.
Create a small well in the center of the flour mixture. Add the egg and vegetable oil into the well.
Slowly pour in the hot water while mixing with a wooden spoon or your hands. Continue mixing until the dough starts coming together into a rough ball.
Transfer the dough onto a lightly floured work surface. Knead for about 8 to 10 minutes until the dough becomes smooth, elastic, and soft. If the dough feels sticky, add a small amount of flour as needed.
Cover the dough with a clean kitchen towel or plastic wrap and allow it to rest for 30 minutes. Resting helps relax the gluten, making the dough easier to roll out.
After resting, divide the dough into smaller portions. Roll out one portion at a time on a lightly floured surface until it is about 1/8 inch thick.
Use a round cutter or drinking glass to cut circles from the dough. Place your preferred filling in the center of each circle.
Fold the dough over the filling to form a half-moon shape. Press the edges firmly together to seal the pierogi completely.
Bring a large pot of salted water to a boil. Carefully place the pierogi into the boiling water in batches. Cook for 3 to 4 minutes or until they float to the surface.
Remove with a slotted spoon and serve immediately with sautéed onions, butter, or sour cream.
Servings and timing
Servings: About 30 pierogi
Prep Time: 20 minutes
Rest Time: 30 minutes
Cooking Time: 10 minutes
Total Time: Approximately 1 hour
Variations
For a richer dough, replace part of the water with warm milk. This creates a softer texture and slightly richer flavor.
You can also add a tablespoon of sour cream to the dough for extra tenderness.
Whole wheat flour can replace part of the all-purpose flour for a heartier texture, though the dough may be slightly denser.
For sweet pierogi, add 1 tablespoon of sugar to the dough mixture. This works especially well with fruit fillings like strawberries or blueberries.
Herbs such as dill or parsley may also be added to the dough for savory pierogi recipes.
Storage/Reheating
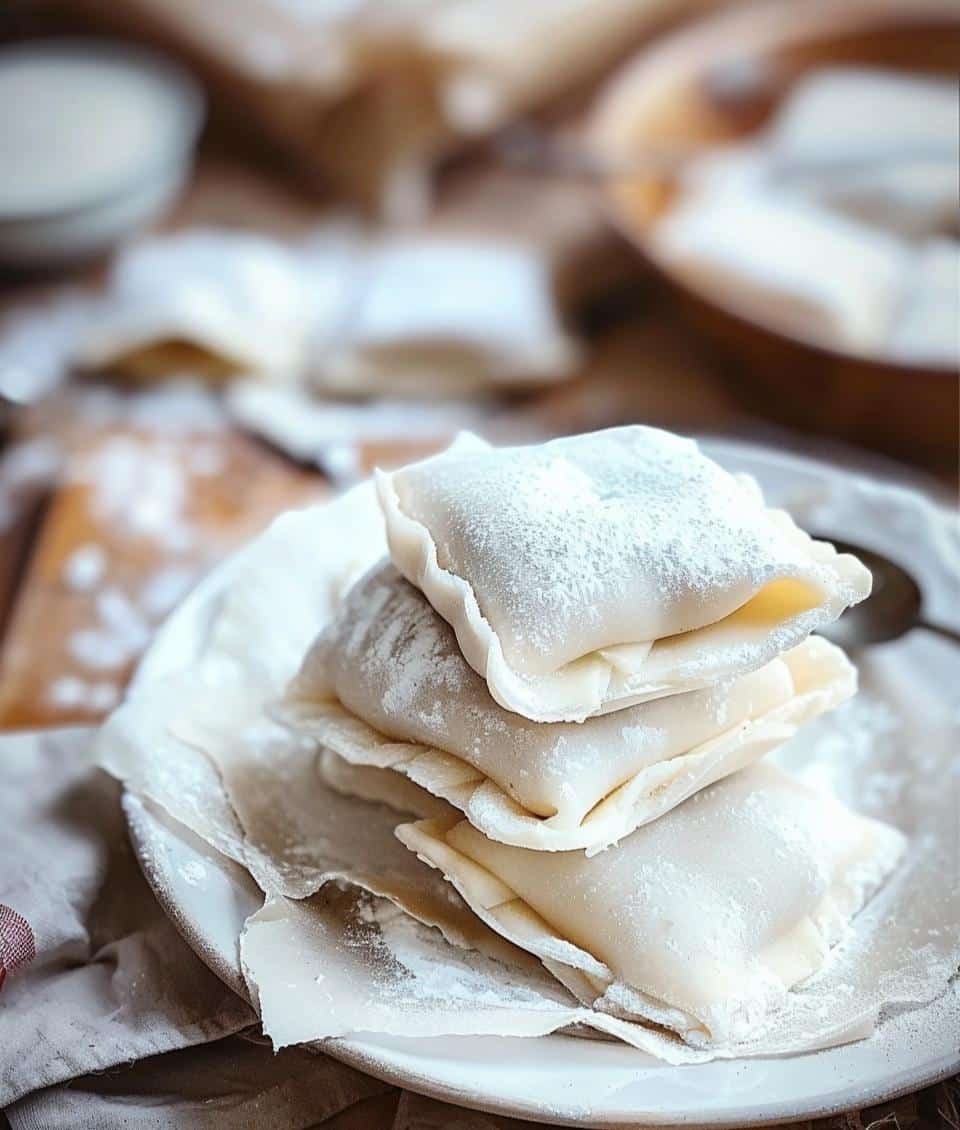
Store uncooked dough tightly wrapped in plastic wrap in the refrigerator for up to 2 days. Allow it to come to room temperature before rolling.
Cooked pierogi can be stored in an airtight container in the refrigerator for up to 4 days.
To freeze uncooked pierogi, place them on a baking sheet in a single layer until frozen solid. Transfer them to freezer-safe bags and freeze for up to 3 months.
Reheat cooked pierogi by sautéing them in a skillet with butter until heated through and lightly golden. You can also reheat them in boiling water for a few minutes.
 FAQs
FAQs
What type of flour works best for pierogi dough?
All-purpose flour works best because it creates a soft and elastic dough that is easy to handle.
Why should the dough rest before rolling?
Resting relaxes the gluten, making the dough easier to roll and preventing it from shrinking.
Can I make pierogi dough without eggs?
Yes, you can omit the egg and add a little extra water for a traditional egg-free version.
How thin should pierogi dough be rolled?
The dough should be rolled to about 1/8 inch thick for tender pierogi that cook evenly.
Why is my dough too sticky?
Sticky dough usually means there is too much moisture. Add a little flour while kneading until smooth.
Can I freeze pierogi dough?
Yes, the dough freezes well when tightly wrapped and stored properly.
How do I keep pierogi from opening while cooking?
Press the edges firmly together and avoid overfilling the dough circles.
Can I fry pierogi after boiling?
Yes, frying boiled pierogi in butter creates a delicious golden and crispy texture.
What fillings work best with this dough?
Potato and cheese, mushrooms, spinach, cabbage, and fruit fillings all work wonderfully.
How long do cooked pierogi last in the refrigerator?
Cooked pierogi stay fresh for up to 4 days when stored in an airtight container.
Conclusion
Homemade Polish pierogi dough is simple, versatile, and incredibly rewarding to prepare from scratch. With its soft texture and easy handling, this recipe creates delicious pierogi perfect for any filling you choose. Whether served boiled or lightly fried, these traditional dumplings are comforting, satisfying, and perfect for family meals or special occasions. Once you try making pierogi dough at home, it will quickly become a favorite recipe in your kitchen.
PrintThe Best Polish Pierogi Dough Recipe

This homemade Polish pierogi dough is soft, elastic, and easy to work with, making it perfect for traditional dumplings filled with savory or sweet fillings. Made with simple pantry ingredients, the dough creates tender pierogi that are comforting, authentic, and delicious.
- Prep Time: 20 minutes
- Cook Time: 10 minutes
- Total Time: 1 hour
- Yield: 30 pierogi
- Category: Dough
- Method: Boiling
- Cuisine: Polish
- Diet: Vegetarian
Ingredients
- 4 cups all-purpose flour
- 1 teaspoon salt
- 4 tablespoons vegetable oil
- 1 1/4 cups hot water
- 1 large egg
- Extra flour for dusting
Instructions
- In a large mixing bowl, combine the all-purpose flour and salt.
- Create a well in the center and add the egg and vegetable oil.
- Slowly pour in the hot water while mixing until the dough forms a rough ball.
- Transfer the dough to a lightly floured surface and knead for 8 to 10 minutes until smooth and elastic.
- If the dough feels sticky, add a small amount of flour as needed.
- Cover the dough with a towel or plastic wrap and let it rest for 30 minutes.
- Divide the dough into smaller portions and roll each portion out to about 1/8 inch thick.
- Cut circles from the dough using a round cutter or glass.
- Add your preferred filling to the center of each dough circle.
- Fold the dough over to form a half-moon shape and press the edges firmly to seal.
- Bring a large pot of salted water to a boil and cook the pierogi in batches for 3 to 4 minutes until they float.
- Remove with a slotted spoon and serve warm with butter, sautéed onions, or sour cream.
Notes
- Allowing the dough to rest makes it easier to roll and shape.
- Add a tablespoon of sour cream for extra tenderness.
- Warm milk can replace part of the water for a richer dough.
- Do not overfill the pierogi to prevent bursting during cooking.
- Whole wheat flour can replace part of the all-purpose flour for a heartier texture.
- Freeze uncooked pierogi on a baking sheet before transferring to freezer bags.
- Boiled pierogi can be pan-fried in butter for a crispy finish.
- Sweet or savory fillings both work well with this dough.
Nutrition
- Serving Size: 3 pierogi
- Calories: 180
- Sugar: 0 g
- Sodium: 180 mg
- Fat: 5 g
- Saturated Fat: 1 g
- Unsaturated Fat: 3 g
- Trans Fat: 0 g
- Carbohydrates: 28 g
- Fiber: 1 g
- Protein: 5 g
- Cholesterol: 12 mg


